The most complete writeup of steering column repair ever!
Posted: Sun Nov 09, 2008 7:13 am
Originally authored by Alibi for his BonneBuick project...good info for 87-99 vehicles!
Alibi wrote:So... I needed to yank a good ignition switch out of my old and very wobbly Buick column to go into my tight Bonneville column. I took pictures of the swap plus extras of me disassembling the column for future reference if anyone in the future wants to tighten up the 3 bolts that allow the column to get all wobbly in the first place or if they need to replace a turn signal switch.
Here are my test subjects and my tools:
First, I collected some specialty tools. This takes a steering wheel puller and a lock plate compressor.
To get at the guts, you have to pull the pad off first. It simply pries off:
This reveals the steering shaft as well as the horn contacts. You need to first remove the horn contact by pressing down and turning about a 1/4 turn counterclockwise to release the plastic tab from the inner horn ring.
Next, remove the C clip above the shaft nut by either prying it off like I did or by using reverse pliers.
Now you need to remove the bolt on the shaft. I believe its 21mm but I didn't have my socket handy so I instead used a pair of vice grips and a screwdriver to give me some leverage to turn it. No problems, its not on there that tight:
So... the steering wheel is still not off because it is pressed onto the splines of the shaft. To remove it, you will need to aquite a steering wheel puller. You need to thread the two bolts in to the pre-tapped holes in the steering wheel and then turn the center shaft of the puller against the column shaft until the pressure overcomes the friction against the splines. You'll know it when the wheel releases and it just lifts off and away.
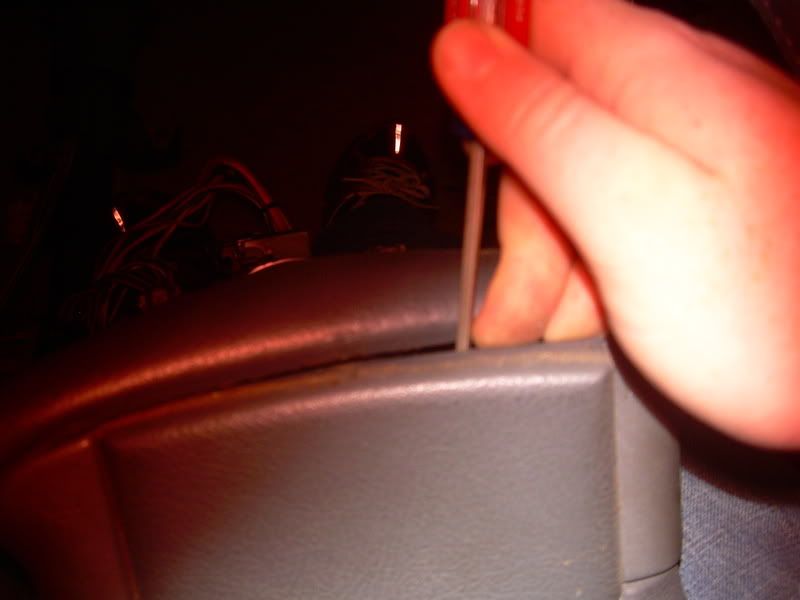
Ok, the wheel is off. Next you need to remove that plastic cover. It just pops off with some leverage from a screwdriver from behind. Don't worry if you crack it or chip the paint, its really not super important. However, be careful of the plastic shaft sticking... up thats the retainer on the horn ring and it is DELICATE. This is a super common part to break and will cause a horn to either quit functioning or will cause the horn to randomly beep. More on that in a sec.
Now you have access to the lock plate. The point of this part is that after you remove the key from the tumbler the wheel will only turn a few degrees before a metal pin snaps in place in the plate. This keeps the wheel and therefore the steering rack from moving while the ignition is turned off.
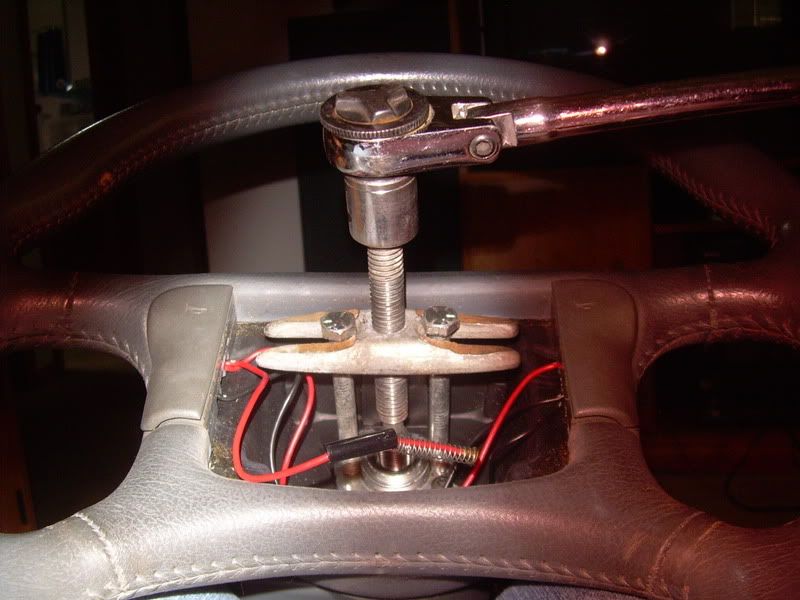
To remove this plate you will need to break out the trusty lock plate compressor. You could probably build one of these out of scrap metal but I bought mine from O'Reily for $20. I'm sure it could be sourced offline for less but I wanted to get a good column in my car sooner rather than later.
You screw the lower shaft of the compressor onto where you removed the 21mm nut on the column shaft and then crank down on the upper nut to push the U shaped part of the compressor against the lock plate. This compresses the spring below the plate so that you can relieve the tension on the retaining ring. DO NOT OVERCRANK THE COMPRESSOR. Doing so WILL bend the the lock plate. You only need it compressed just enough that tension is relieved from the ring.
Now that you can get at the ring you have to pry it off somehow... its on there pretty good so your best tools to get at it is a set of picks. They are your best friend for this job, trust me. If you don't have any spend a few dollars and get some... I picked up a set from Wal-Mart for like $6 a couple years back and I use them quite a bit.
Anyway, you need to use two picks: one to pry the ring away from the shaft and a second to push the ring up the shaft out of its recess. Keep doing this around the circumference of the shaft until the ring is completely out of its recess in the shaft.
Now you can remove the compressor. Note that the spring now pushes the entire plate up about an inch more than it was with the retaining C ring in place. At this point you want to mark how the horn ring is aligned to the shaft of the column (assuming you're doing this with the column in the car, otherwise its going to spin anyway). If you don't you won't know how to put the horn ring back in so that when you attatch your steering wheel it may end up cockeyed. Not fun to to have to remove the wheel and the lock plate all over just to adjust the placement.
Anyway, remove the retaining ring, lock plate, plastic horn ring, and spring out of the way.
Remember that I told that these were delicate? see that little prong of plastic sticking out? Thats where the pin on the plastic shaft that goes over the spring on the horn contacts is screwed into (the one that takes a press down and 1/4 turn counterclockwise). Also, thats the most common part to break.
If it is broken now is the time to replace it. These are pretty easy to come by at most parts stores and I think I got one for around 10 bucks. Heres a comparison of a good OEM ring vs. an aftermarket HELP brand ring... the HELP ring is the same shape and size, but the plastic appears to be thinner and cheaper... all the more reason to preserve the OEM ring if possible.
(left is aftermarket, right is OEM... the black on the AM is just a thin plastic cover)
(left is OEM, right is AM)
Now you should have clear access to the turn signal cancel cam. You need to remove 5 screws to be able to pull it up and out of the way:
-1 screw to remove the turn signal lever and bracket
-3 screws that fasten down the cam (you'll have to engage the cam by clicking it over once to get at one of the screws)
-1 screw for the hazard light switch
First remove the Hazard switch:
Then remove the turn signal (blue, already removed in the pic) and then three cam screws (red):
Now you should be able to flip the turn signal cam assembly up and out of the way. I'm not sure how much extra slack you may have when the column is still in the car but there should be enough to move it out of the way far enough so that you can get at the tumbler retaining bolt.
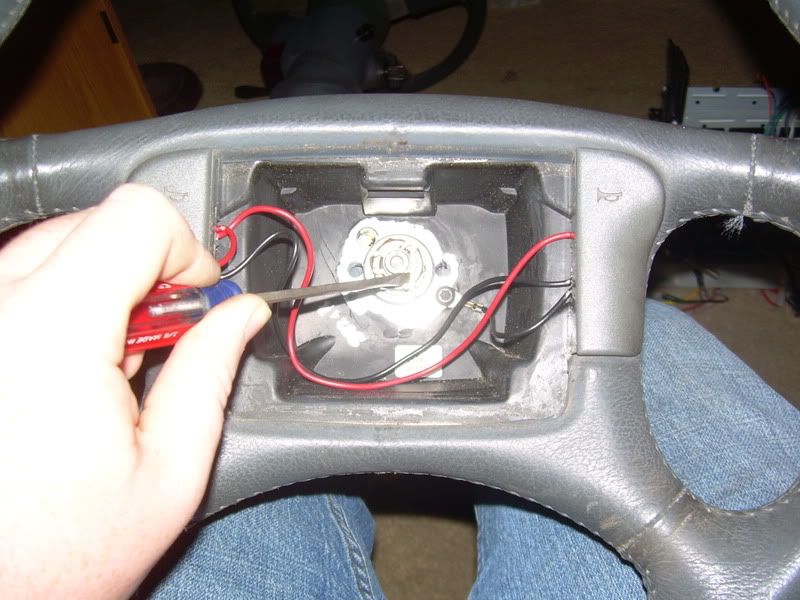
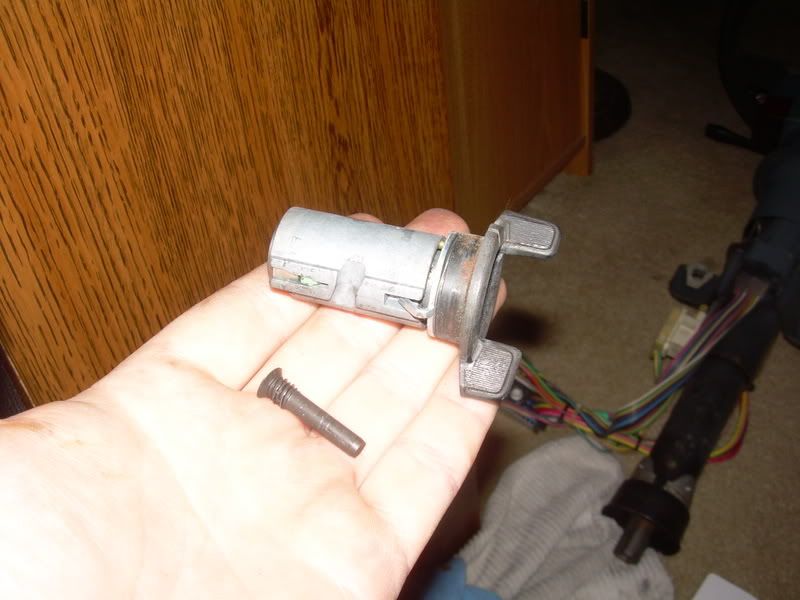
Now, to remove the tumbler there is a set of contacts that are held by a bit of spring steel. The housing for these contacts is in the way of the retaining bolt so simply pull the housing up and out.
Remove the T15 Torx screw and slide out the tumbler. Slide in a new one and reverse to assemble if thats all you need to replace.
And a side-note... the reason that GM cars with this style of column are so easy to steal is the design of the tumbler.... all you need to do is have a big pry tool to yank out the tumbler and then just use a pair of needlenose pliers to turn the switch in the column. Also, if you're ever in a bind and for some reason the tumbler quit or you lost the key you can pull the column apart, remove the tumbler, and just use pliers until you find the key or replace the tumbler.
Ok... from here on out the pictures show me working on my wobbly Buick column. There are two reasons that you would ever need to go further into your column:
1. To replace the turn signal switch.
2. To fix the "wobbly column syndrome" caused by loose bolts in the column. This is a very common problem and its frustrating to think that a little extra dab of locktite would have solved the entire problem if GM had done so at the assembly line oh so many years ago.
In either case, you need to remove the outer plastic shell to go any further. You need to first remove the 3 T30 torx screws.
Then unscrew the tilt lever and then pry/slide off the cover for the multifunction lever harness. Unclip the harness and just yank the multifunction lever out (not shown as I had already pulled mine). Now the cover should slide off but you will probably need to unhook the main wiring harness block under the dash to get enough slack (1 7mm retaning screw on the block).
If you need to fix the wobblyness of the column then you do not have to remove the wire harness (just let the cover and associated electrical bits dangle out of the way) but if you are replacing the windshield wiper switch then you have to... sorry.
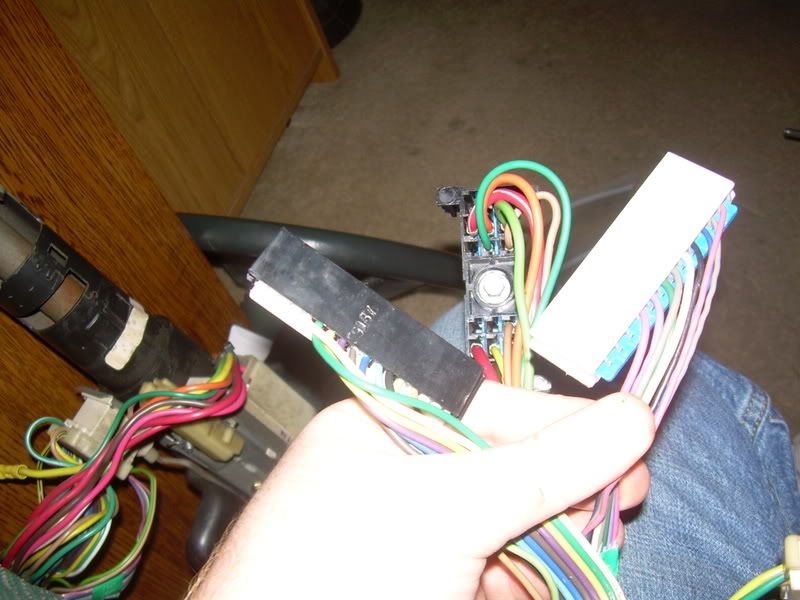
So... you do have the kick panels removed and the harness block loose, right? You now need to unclip the harness for the wiper switch... I think its the gray one. Simply use a small screwdriver to gently apply pressure at the middle center of the plastic harness (wire side sticking up) and slide the harness out of the main block. No biggie. The black one is for the turn signal cam.
Next, you need to remove the harness run channel by pressing the plastic tabs down and sliding it out of the metal channel on the column:
It takes some wiggling, but slide the plastic harnesses up through the channel in the column. This took some poking with a screwdriver to get them go pass some obsctuctions but there should be plenty of room. If you remove both harnesses the upper plastic sleeve of the column will be loose. You can now replace the turn signal cam by just pulling the assembly out (remember you already removed the 3 screws that hold it down earlier to access the key tumbler). To replace the wiper switch, punch out the small metal pin (its tapered for a friction fit so be sure you're pushing from the small end of the taper), slide out the old unit, slide in the new unit, and lightly tap the pin back in. Slide the plastic harness back down the channel (you might need some wire to poke it down) and reverse your assembly to be done if that is as far as you need to go.
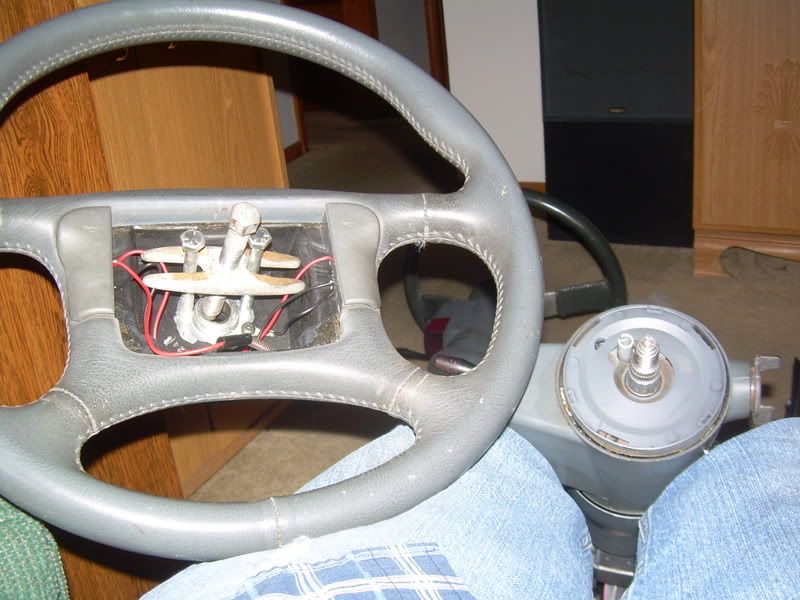
Ok... so now getting back to fixing the wobblyness. You will have to buy one more tool to do this right: a pivot pin remover/puller. We'll get to that in a sec. At this point you should have your column looking like this:
Pretty sad looking, eh? There are three (I think, maybe more) bolts that come lose over time that allows the upper portion of the column to wobble. This is bad because its annoying, screws with your ability to accurately steer, and eventually the wobbling chews up wires. The trick is getting at these stupid bolts... you have to remove two pivot pins on the column... one is at 3 o'clock and the other at 9.
I have actually never bothered to fix this as you have noticed by now it is much, much faster to just remove the entire column and replace it with one that doesn't wobble. But... for the purist I'll at least tell you how it works in theory.
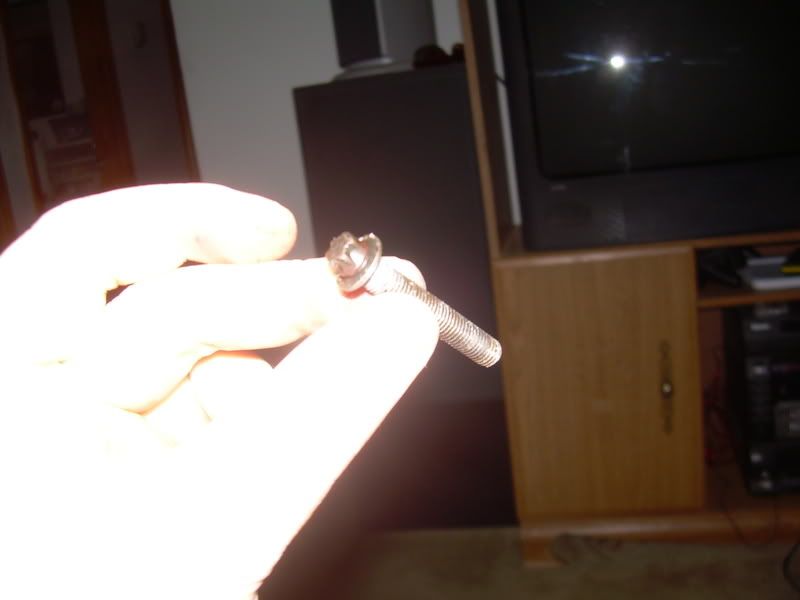
You will need to get a pivot pin remover tool or make one out of a series of washers and a screw:
Source: http://www.kalyx.com/store/prodpage5.cf ... 0/file.htm
This tool pulls the pins out so that you can acces the three bolts. Simply remove each bolt one at a time, add some red locktite and screw it back in. Reverse removal to assemble and you're done.
My column was wobbly enough that one of my screws actually fell out so here is a look at it... its a reverse Torx head bolt at that.
You can gut the column down even more if you want the extra parts but meh, IMO theres not much left on it worth keeping after you pull the switches and the tumbler.