No, there are not.
Our mounts are quite different, and typically aren't a problem other than the front trans mount at about 100k, and the torque-axis mount a little bit later in life. You can try what I did though (keep in mind this is my 4th prototype, but works very well and is adjustable):
(remember, this is for 92-99, the front trans mount)
Update, several days later. Round 3 is done.
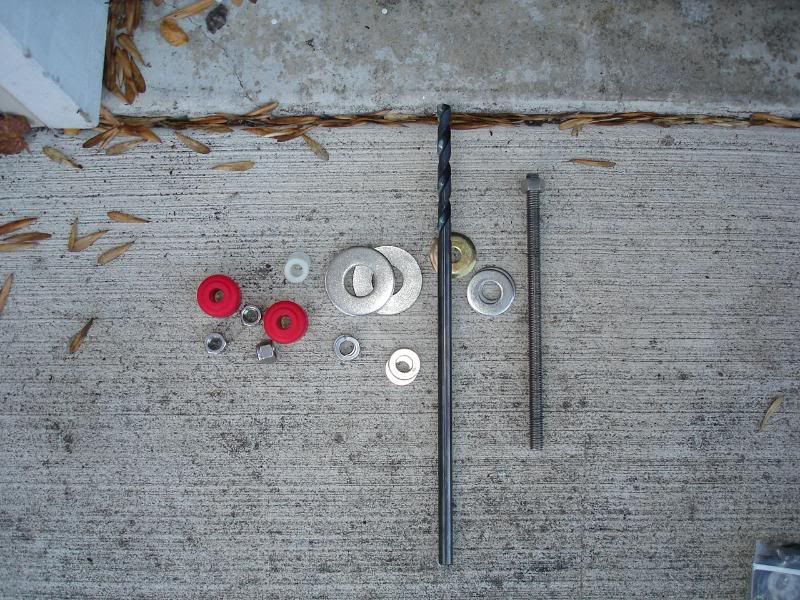
The ammo. Leftover endlink bushing from the 'rear' universal kit, endlink washer, allthread, lockwashers, standard nuts, and nylock nuts:
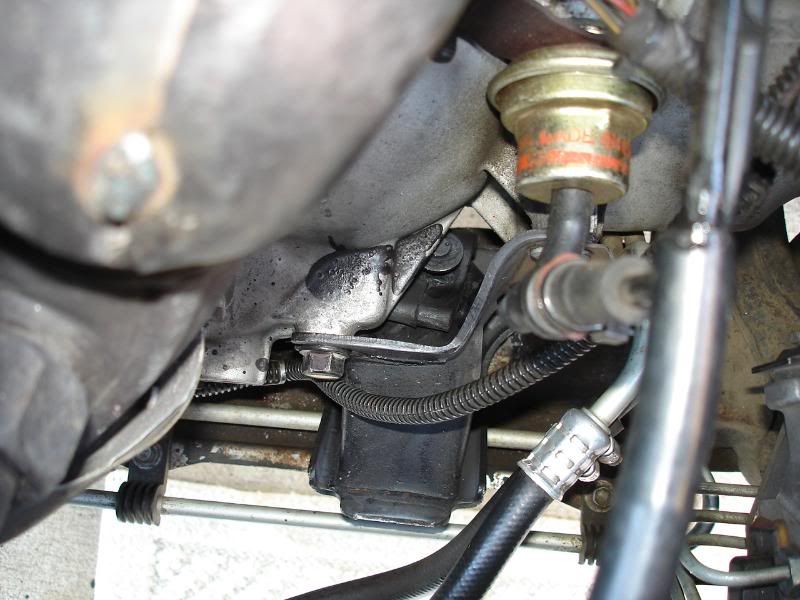
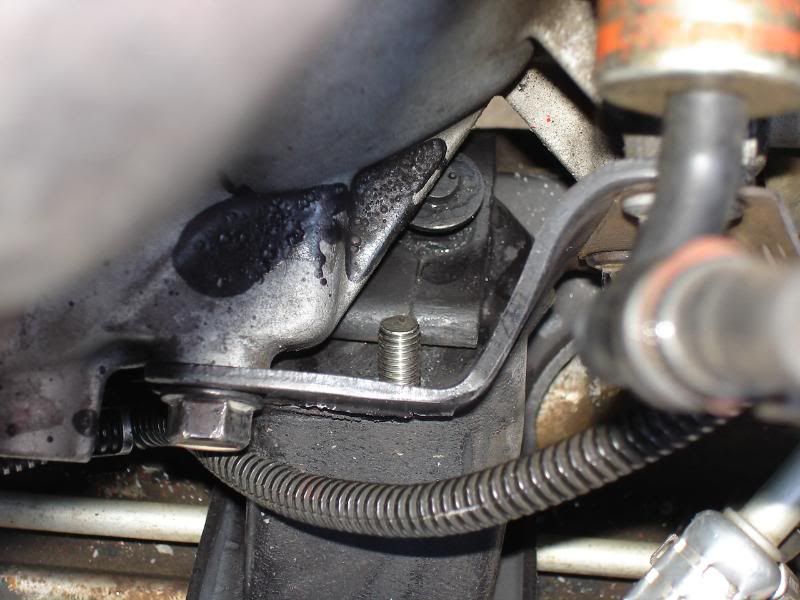
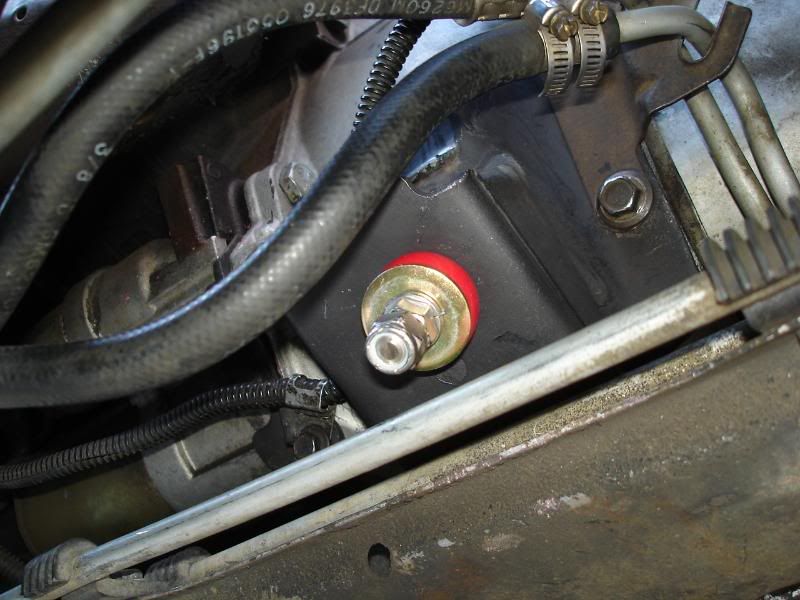
This is where it's going. We're looking down from the top of the radiator. Rear of the car to the top of the pic, front of the car to the bottom of the pic. That black trans mount is going to get drilled from bottom to top:
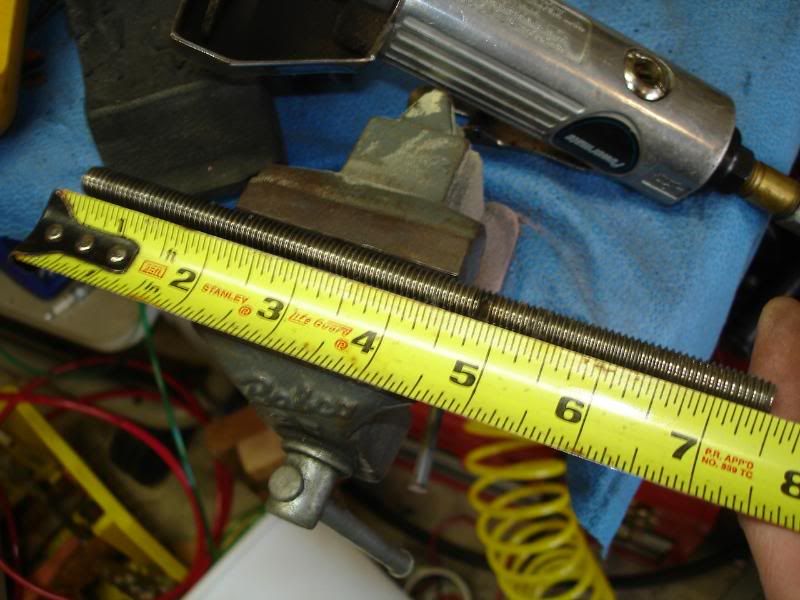
Remember that long drill bit in the first pic? It cost me $11. 3/8" diameter. I drilled through (be VERY careful doing this, you have to hit a very small pocket between the mount and trans, and if you miss, you won't be able to get the back side nuts on). I had to use my cordless drill to 'screw' the threaded rod in and out because of the grip of the rubber in the mount:
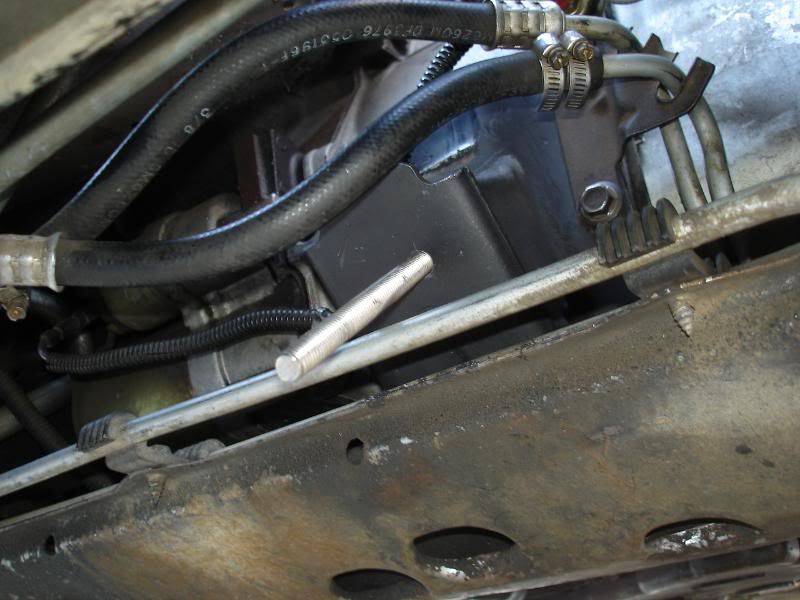
Here's the other end. I hit the zone. It's still going to be tough to get the washers and nuts on:
Closer view:
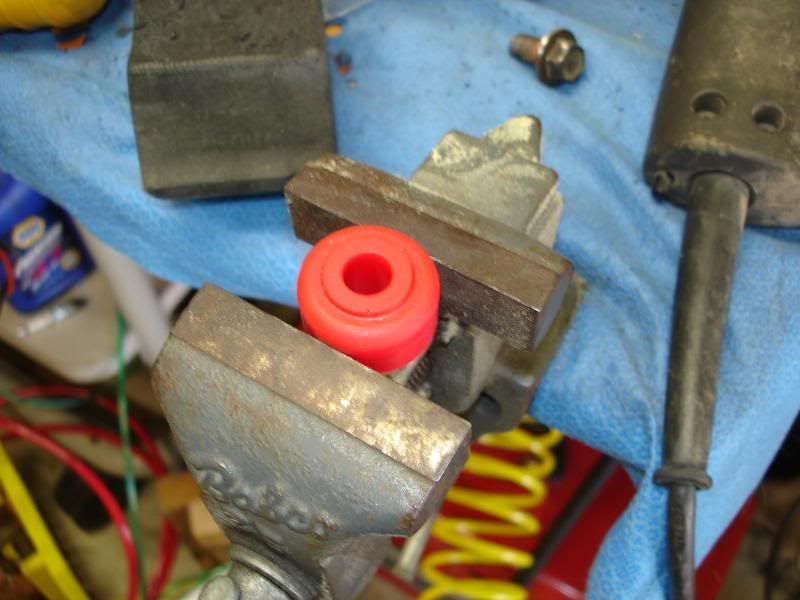
Now let's modify that polyurethane bushing. We're taking the little ring off the top so that it sits flush on the bottom face of the mount. the top in this pic (as viewed) will be against the mount:
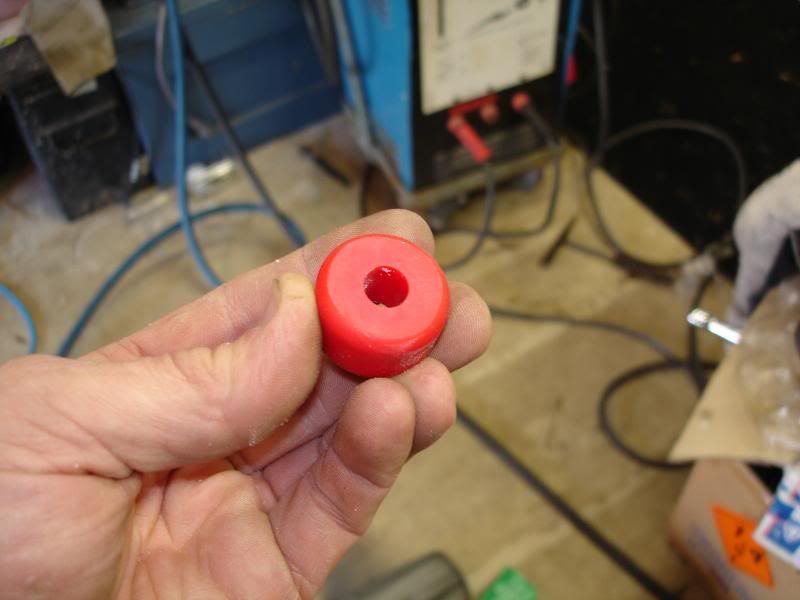
Here's the bushing with the 'crown' shaved off:
Fitting the length to cut the rod. Make sure you leave enough on the other end for a washer, lock washer, and 2 nuts:
Cut to length:
Daddy got a head start, and had to recruit Katie, still in PJ's, for the extra set of hands. She handles the impact wrench like a pro:

Flat washer, lock washer, standard nut, and Nylock nut on the back side:

Endlink polyurethane bushing, endlink washer, lockwasher, standard nut, and nylock nut on the front (bottom) side:
Tightened to compression+. So it's just starting to swell.
This mount should naturally damp vibration almost as well as stock. It will use the OEM rubber wedge for compression (letting off the gas), and the poly bushing for extension or tension (rolling on the loud pedal).
Road test coming soon.
_______________________________________________
Guess what? I BROKE that one. Granted, I'm putting a bit more torque through this thing than most people, but I improved it.
________________________________________________
Hold the presses. I broke it today.
Not sure if it was grade 2 or grade 5. Snapped in half (tension, not shear) leaving the parky lot for lunch a little while ago.
It snapped in half inside the rubber block, sounded like a rifle shot hitting the front of the trans. It was the INSIDE half that broke off and came out. The lower half including bushing are still stuck in the rubber.
I think it may be time to increase the allthread grade and possibly the diameter also.
Grade 2 is 74,000psi tensile strength.
Grade 5 is 120,000psi tensile strength.
Grade 8 is 150,000psi tensile strength.
Bare minimum, under hard accelleration, It took 37 TONS per square inch to snap it. Possibly up to 60 tons depending on grade. Time to go shopping again.
It would have been worse if the other end had broken and shout out. Trans cooler lines are directly in the path. Just imagine how much energy it had coming out. And the velocity it would have been travelling at.
I'll be cross-drilling and safety-wiring the next version. Tethers if it makes more sense.
Edit: Found the nylock on top is mashed. Going to look at the car. Pics soon. Everyone in the car FELT the broken piece hit the trans. Not feeling the mount flex, but the actual shot from the broken piece.
Edit again:
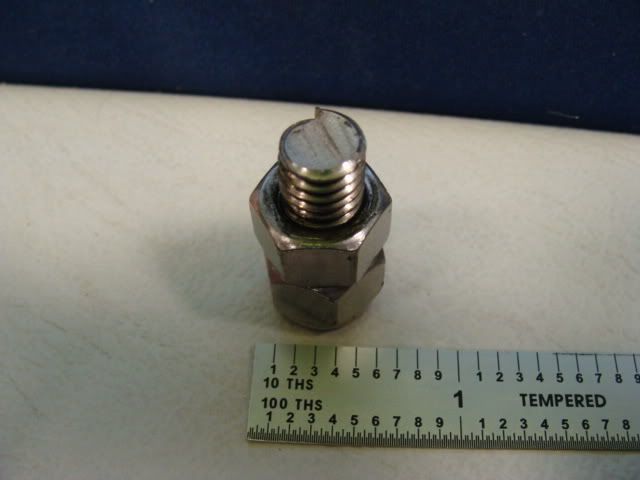
Went out and found the washer. 316 Stainless. Just like the threaded rod. Stronger than Grade 5 by a small margin. Upgrade that to 120,000psi or 60 tons per square inch. This being 3/8 or .375, it's taken somewhere around 20 tons of force to rip it apart in tension.
I'll work something up for you guys shortly. I got a 3/8" LONG drill bit at Home Depot to allow me to drill it in place without removing the mount. You have to be VERY careful to drill straight. It's best to have a spotter above AND below. I suggest putting a white mark on the top of the mount. Even white tape. In a straight line along the drill path. Then paint the drill bit white so the top spotter can see both the tape line and the white bit to keep you straight.
When you get through the lower face of the mount and the rubber, STOP and insert the threaded rod, stand back, and make sure you've come into it straight. If not, use the drill bit as a mill and 'work it' over to where you need it before drilling through the rear (trans side).
The best washers to use are the ones that come with the universal endlink kit, which you need anyway to get an endlink bushing for the project. I used a standard Stainless nut on each side, backed up with a nylock to keep it from backing out. Like I said though, I'll work something up in cad for you guys.
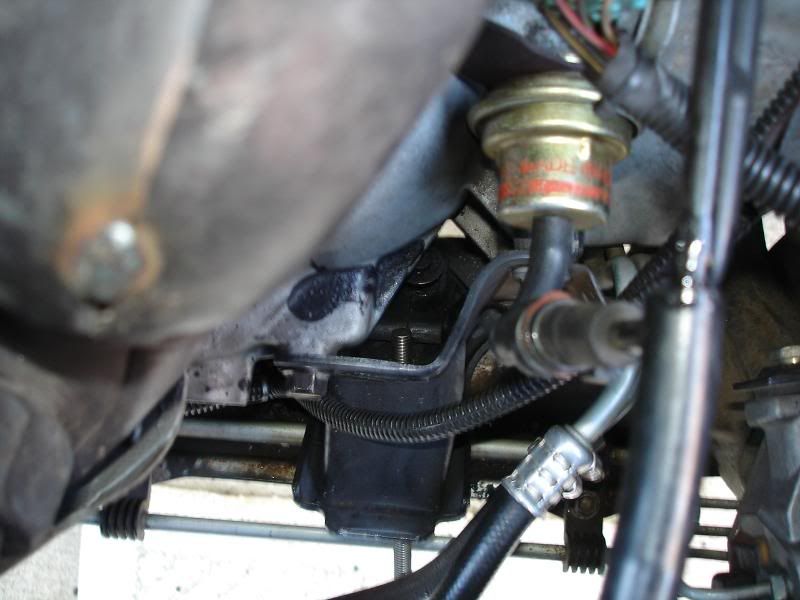
That shows the tape reference on the top for the right angle. Be aware it's VERY critical you hit the EXACT spot on the back side, and it's very difficult to place a nut and washer back there. I welded a box-end wrench to that nut, and left it in there to 'back up' the nut when I'm adjusting tension on the bottom side. The wrench is captured between the mount and trans to prevent it from rotating naturally (then I cut the open-end of the wrench off). The wrench stays long-term on mine.
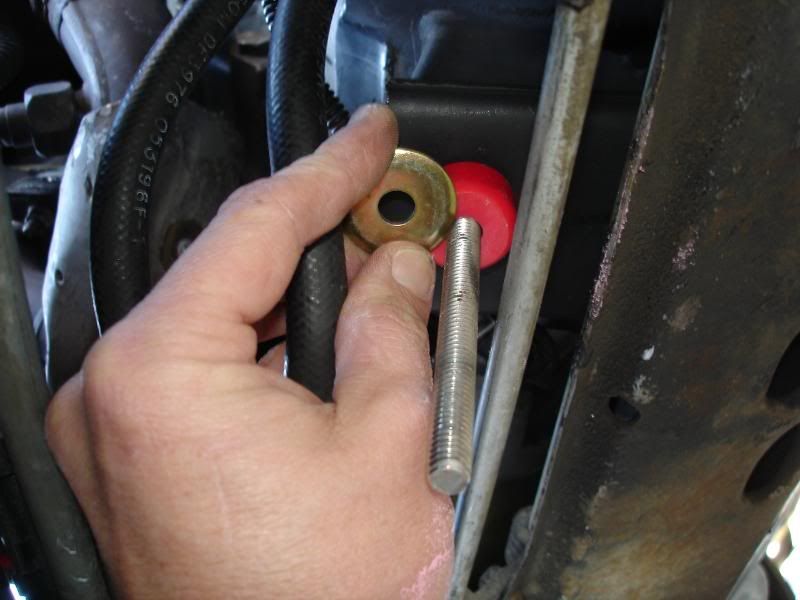
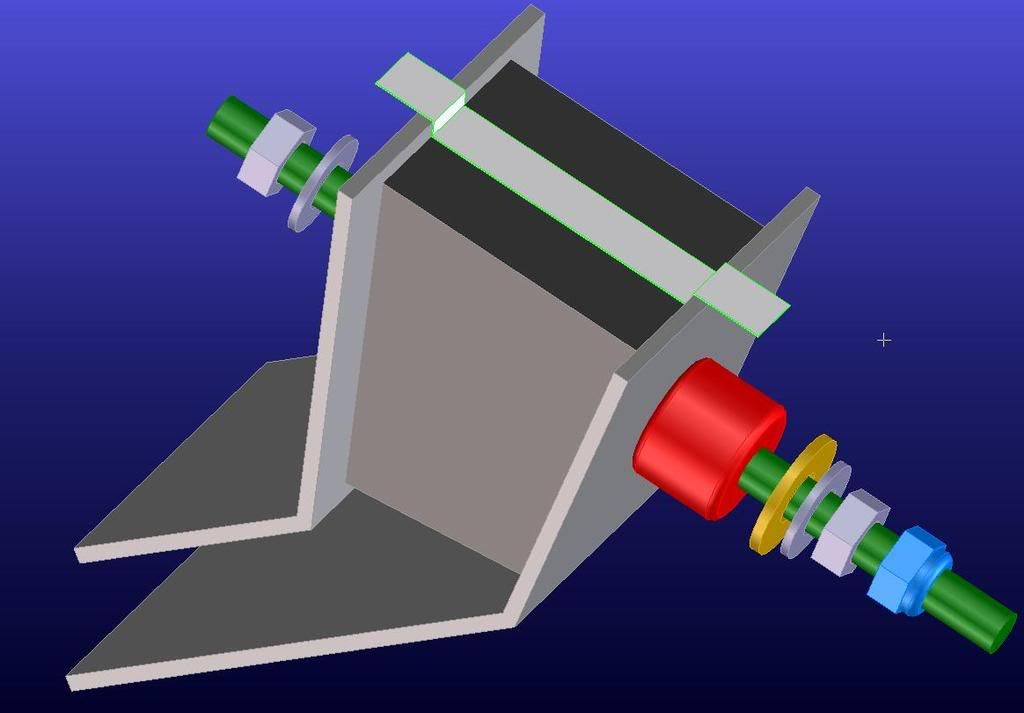
In the pic above, the gray washers and nuts are standard. I chose 316 stainless. The gold washer comes with the endlink kits (Energy Suspension poly endlink kits, or buy the universal bushing/washer set). The blue nut is a nylock for safety to make sure it doesn't work loose.
To adjust it, I back the nylock off until its flats are aligned with the nut between, then use a deepwell socket on BOTH, to either add or remove tension. Then I tighten the nylock back against the other nut when I'm done.
Let me be clear......it's very easy to MISS the little pocket in there that you need to hit, so use the spotters as I detailed in MY PREVIOUS POST ABOVE.
Keep in mind, get the strongest grade or ASTM hardened allthread to start with. I've also attached a wrench to the back side that prevents that rear nut from moving so it only takes one person to adjust the tension on the mount.