Zilla's custom hood painting (no 56k)
Posted: Tue May 20, 2008 10:55 am
Been bizzy the last 3 days. Had a little fun in the garage.
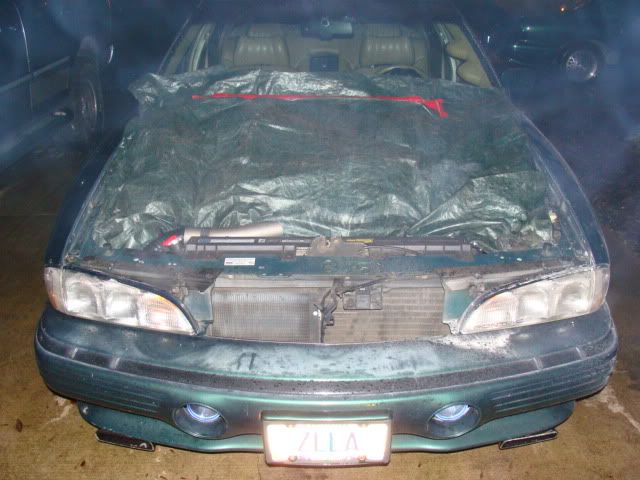
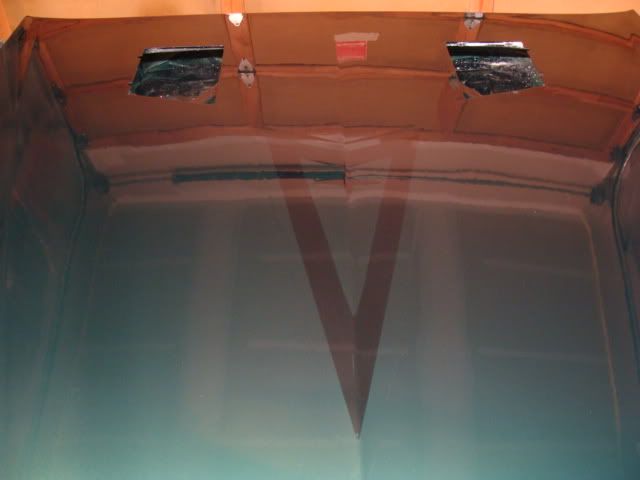
Hood removal comes first:

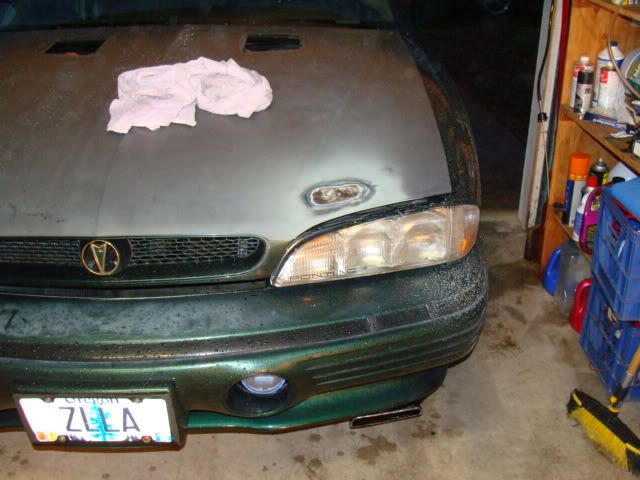
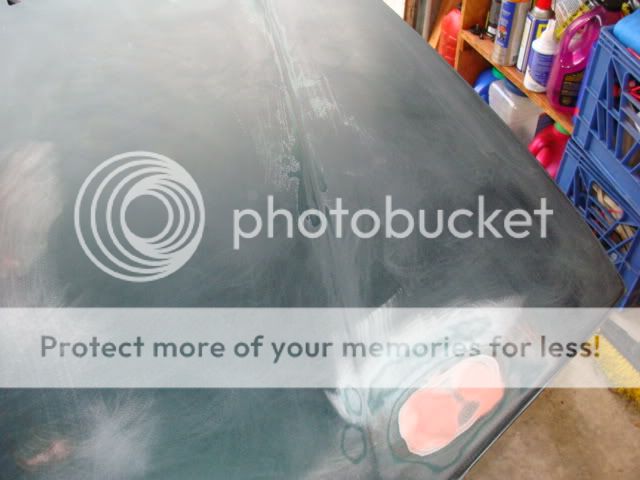
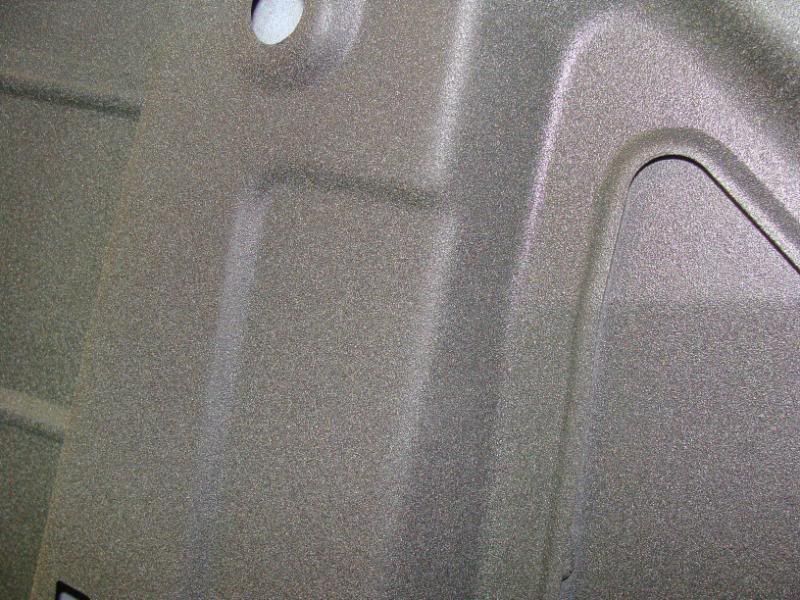
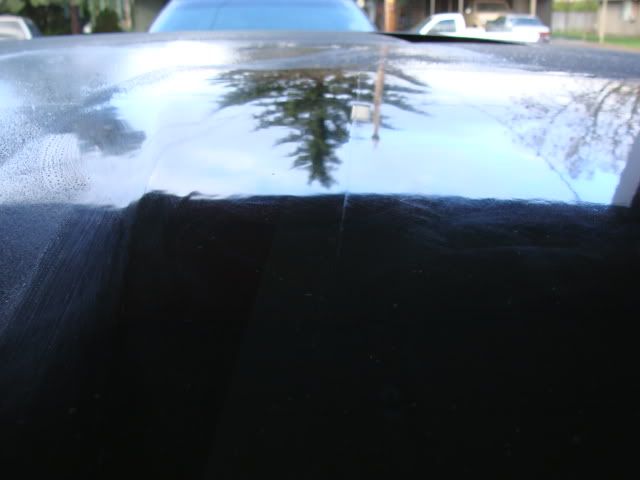
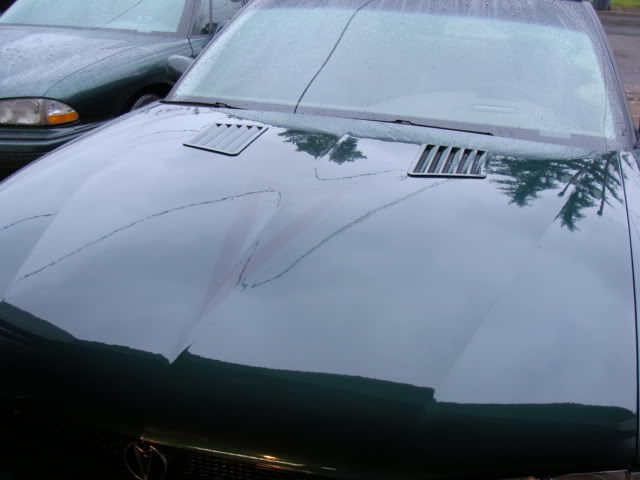
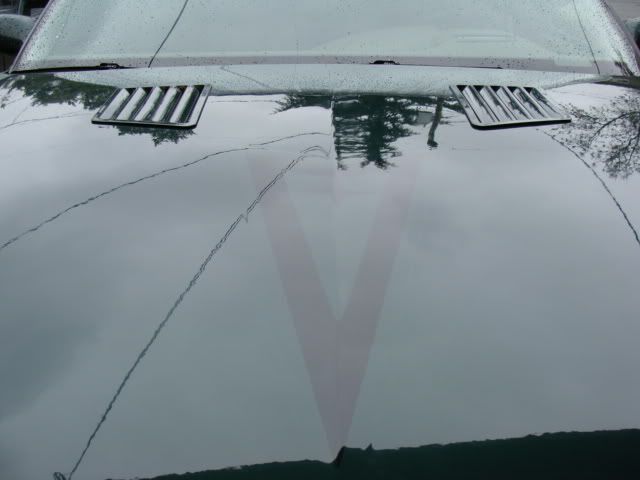
Dents courtesy of a friend a year ago:
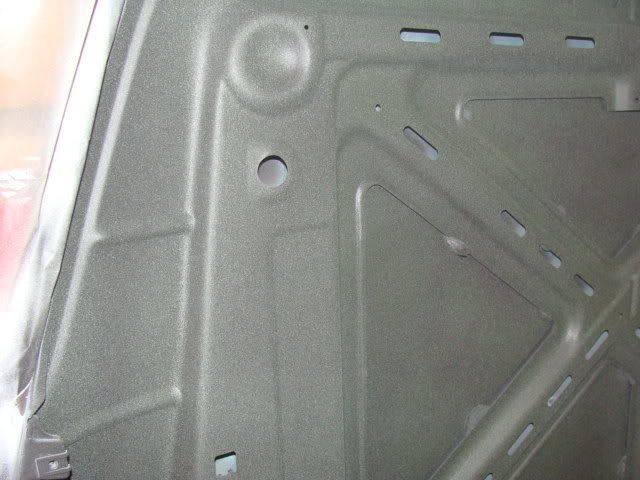
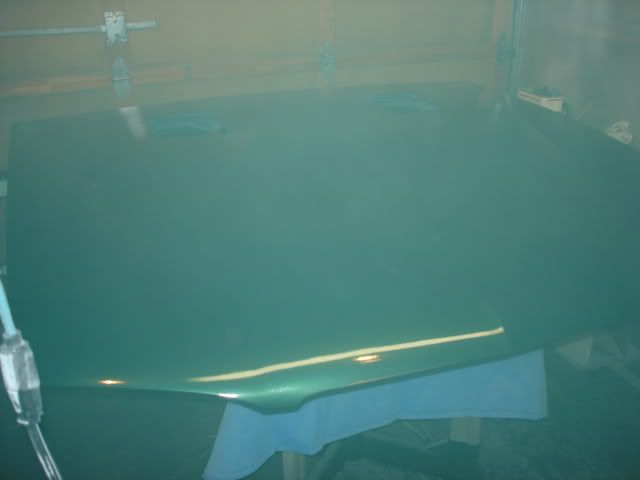
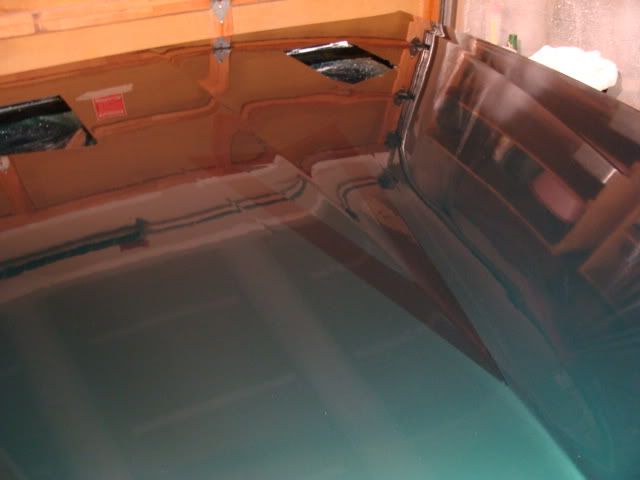
Look! Something green covering the motor!
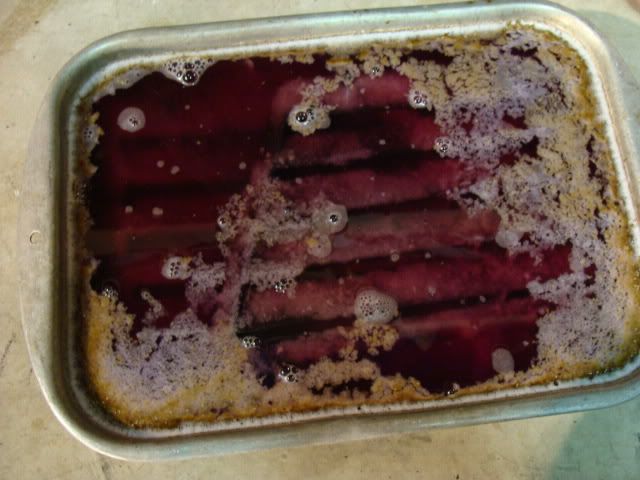
Time to remove the old black primer with castrol super clean (my favorite caustic chemical):

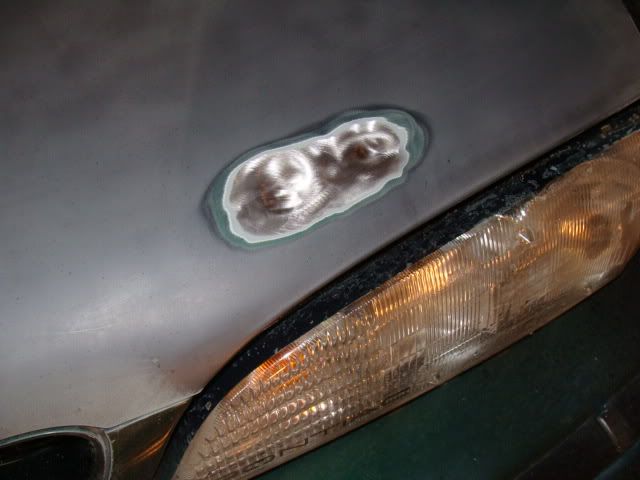
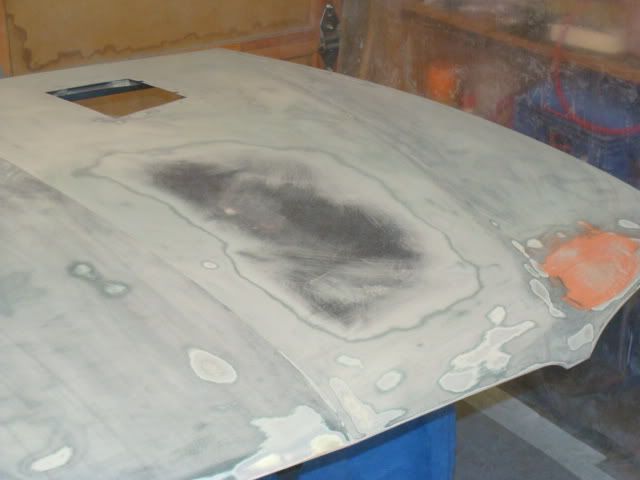
Time to break the clearcoat down. The clear was flaking off, which is why I went after the hood vents when I did. Nothing to lose:

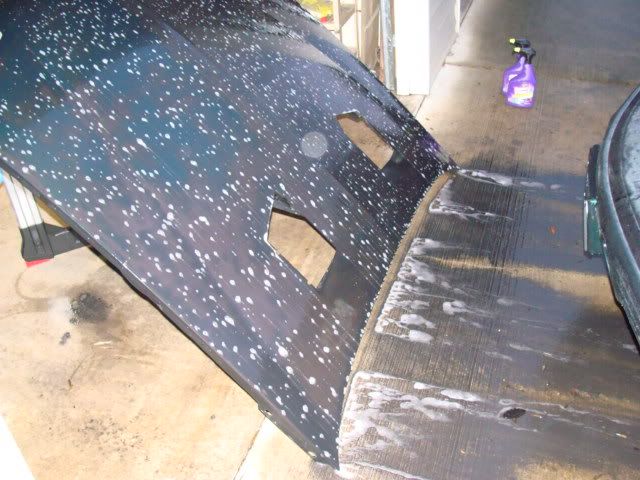
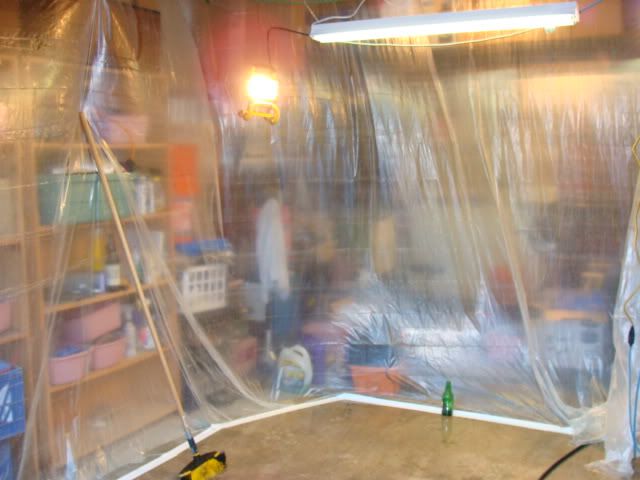
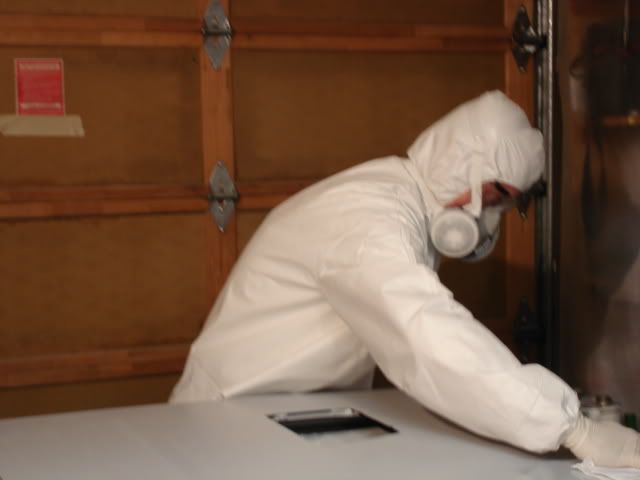
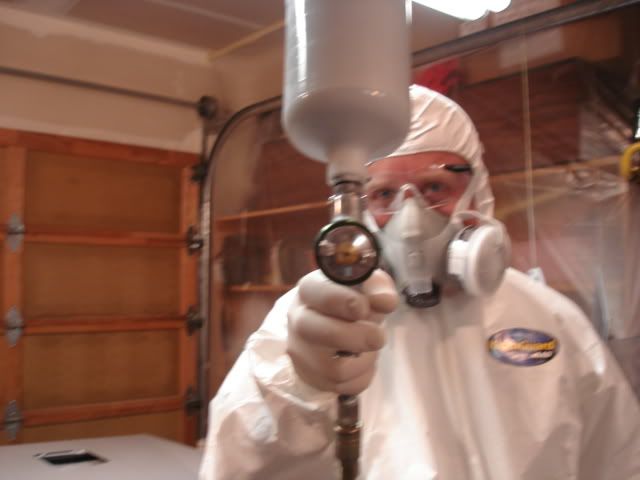
Let's build a paint booth. This got washed out with water to control the dust between every coat (primer, color, clear):


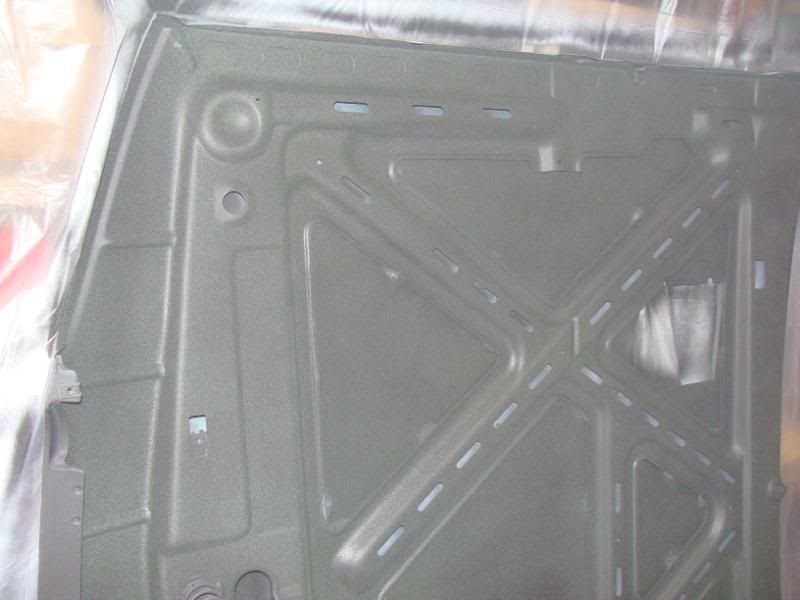
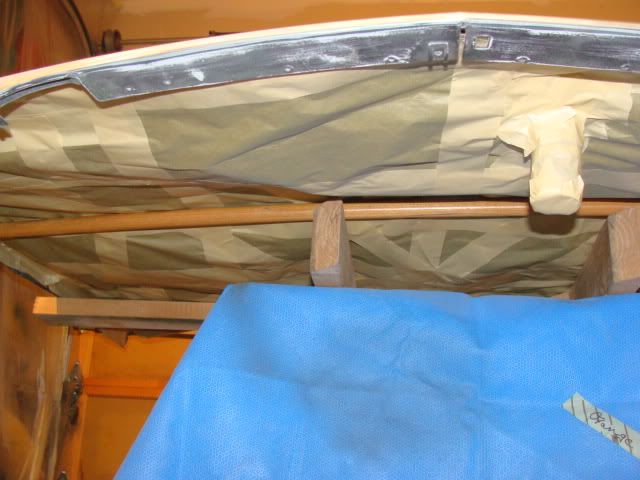
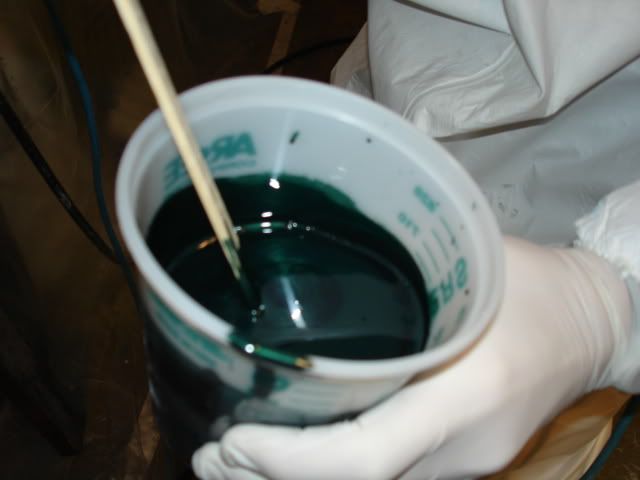
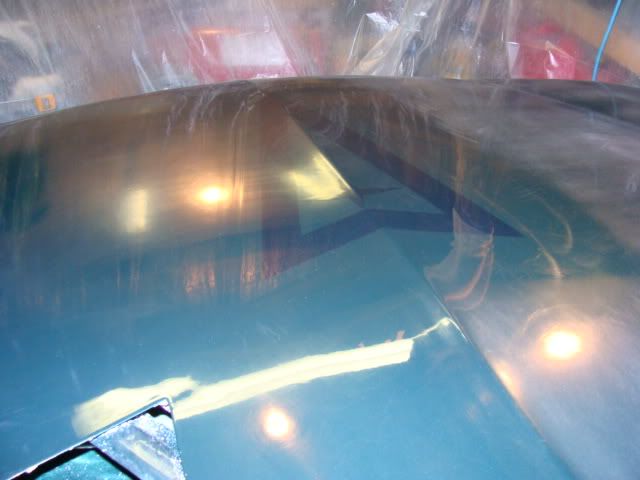
Now let's do something cool to the underside. This is a textured fleck-coat for outdoor patio furniture. It's actually a dark forest green, but in the bad lighting, you can't tell very well:
I primed these the first time with the underside of the hood because I had some wear and abuse over the years installed on a Trans Am that I had to address. The first coat of primer made that easier:

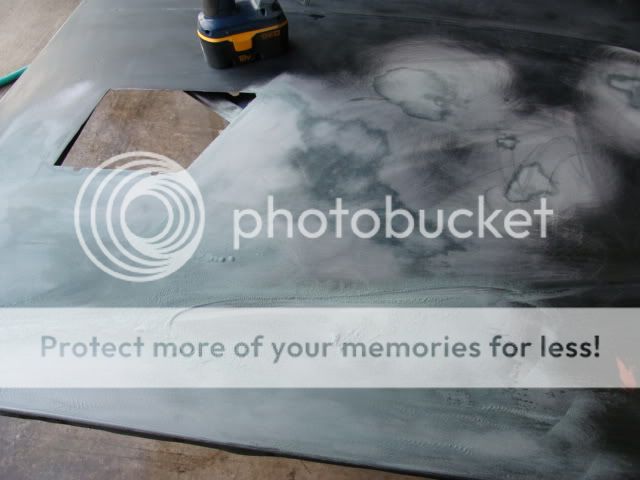
The priming begins:

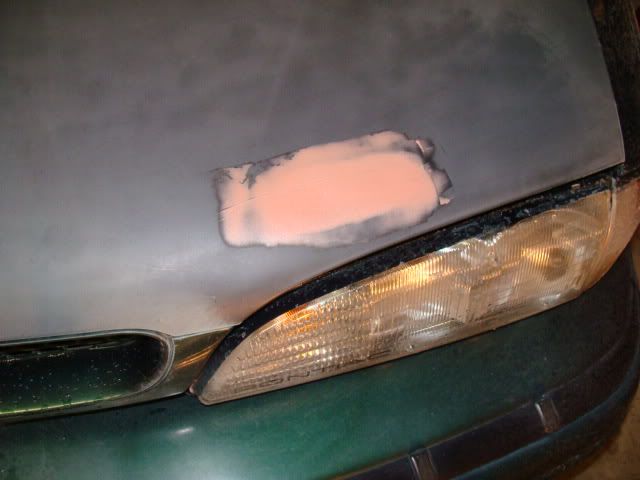
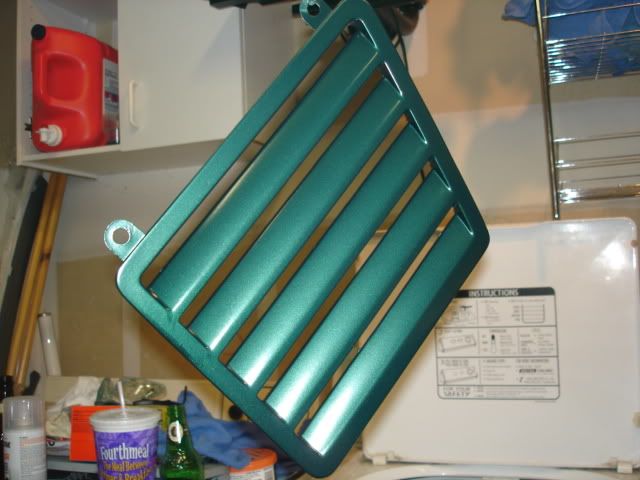
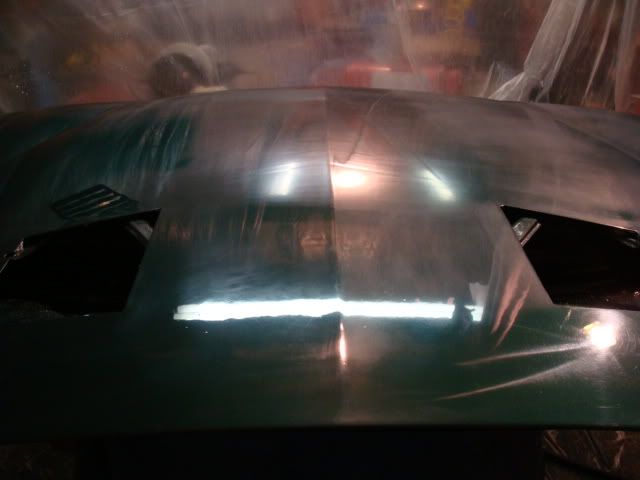
After a bunch of wetsanding on these 2 coats of high-build primer, it was time for color:


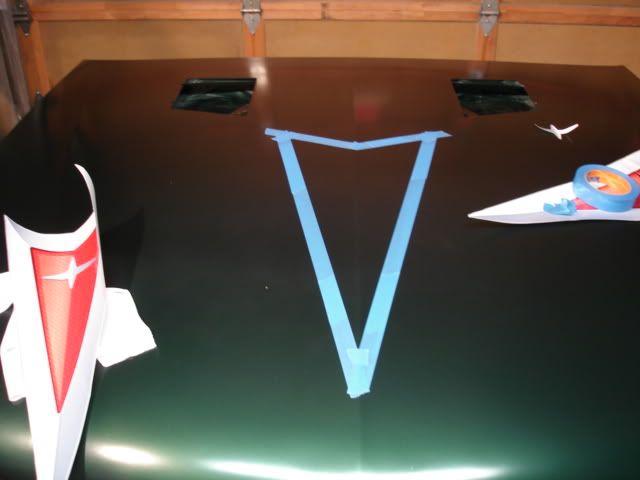
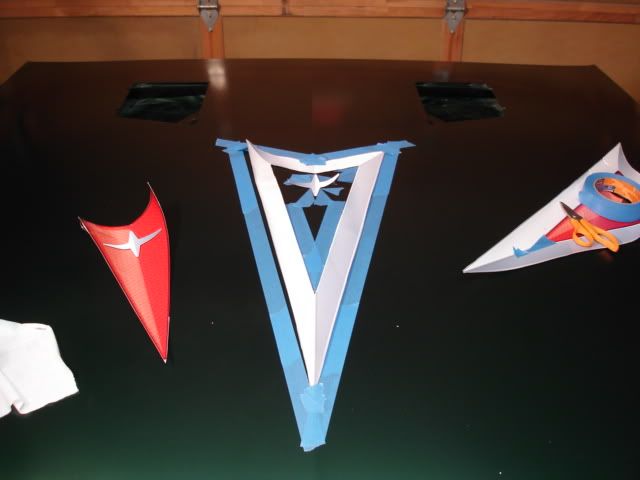
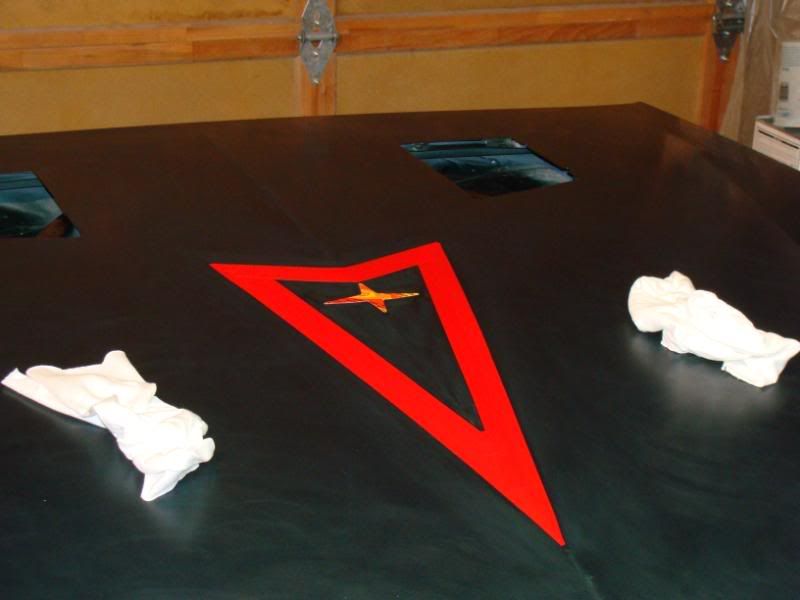
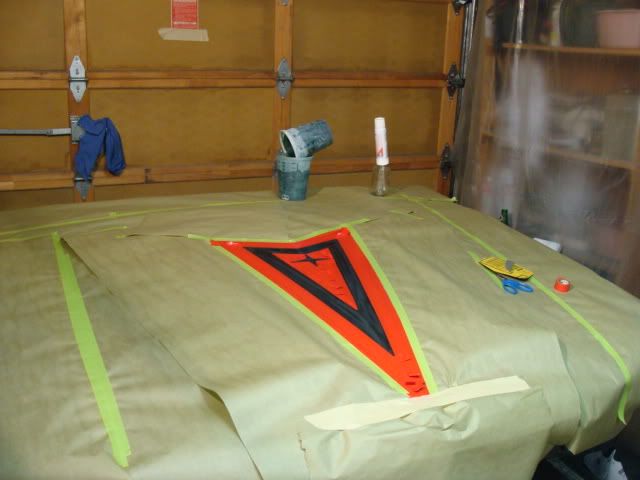
Now let's play around with a new idea. The logo will be shot with the same color, but with some gold pearl mixed in. The idea is to be subtle. Not right in your face, but easy to see in the right light:

Bad news. The tape that was rated for oil, alkyd, polyurethane, latex, and acrylic paints decided to leave imprints in the fully dried basecoat:
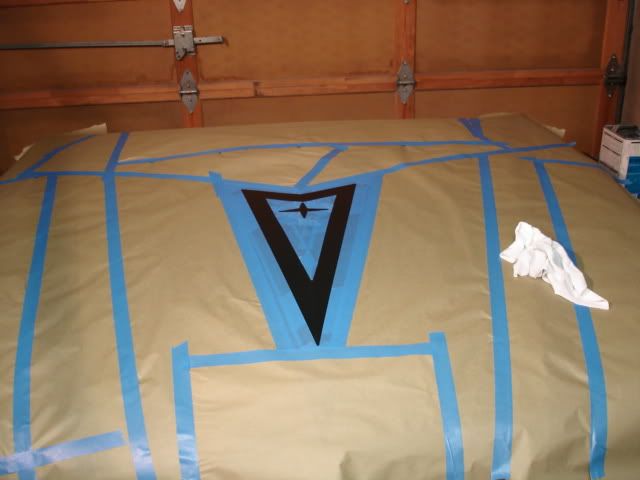
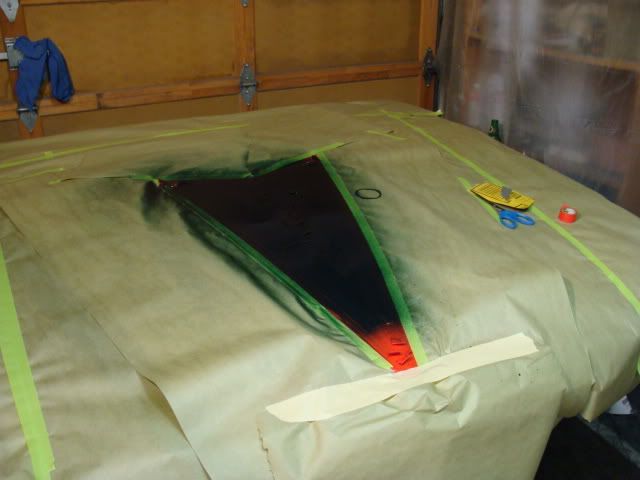
Time to wet-sand the entire hood EXCEPT the logo, and re-shoot color:
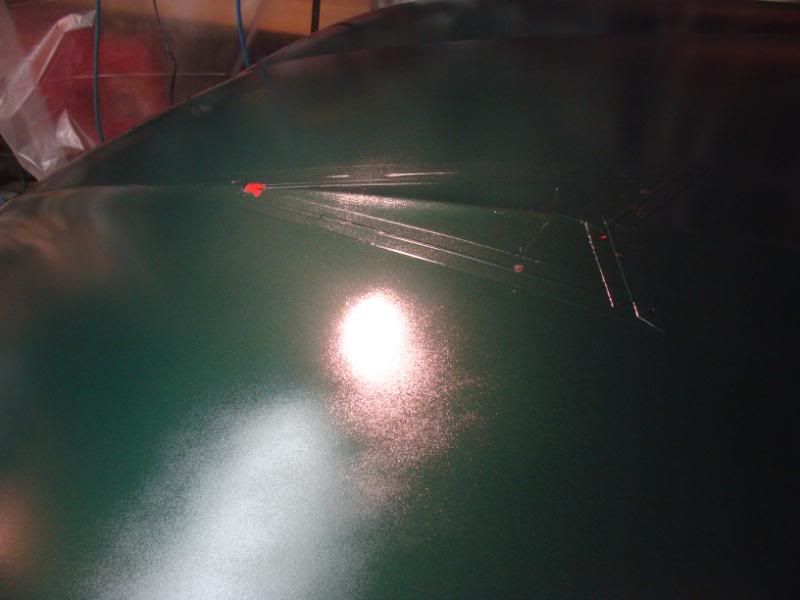
Before the next coat of color, we have to re-mask the logo (it has the gold pearl in it, and I don't want to have to re-mix and re-shoot it). This time we'll use electrical tape and a trimmed fridge magnet to mask it off:
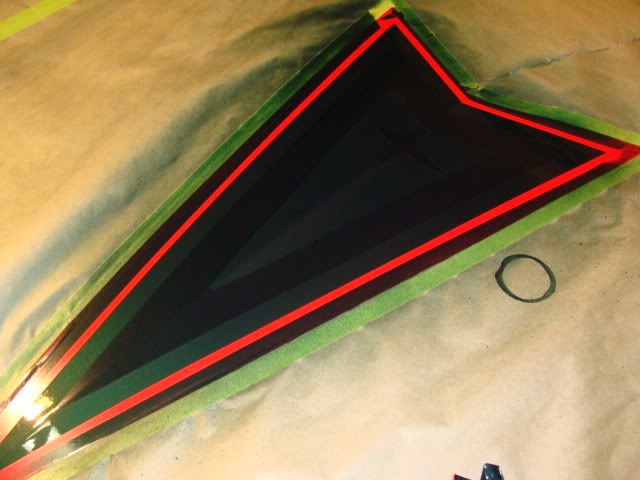
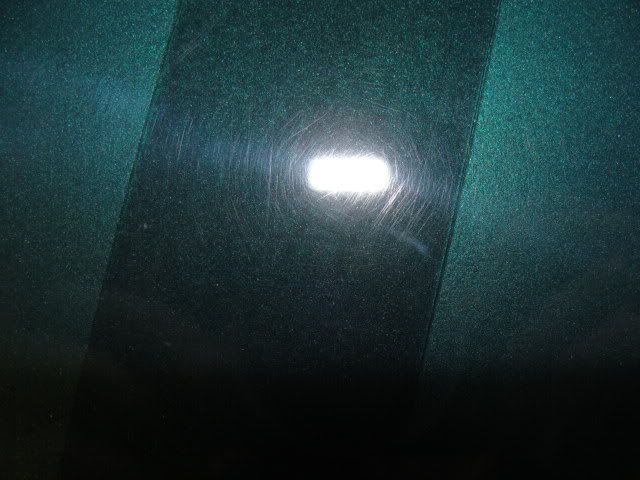
The results (notice the 800-grit oops in the logo from the previous step):
I had no choice at this point but to hide that oops with 1500 grit. I did the whole logo (inside corners, especially on the star, were a B I T C H). It had to look the same. After that, it was time for clear:


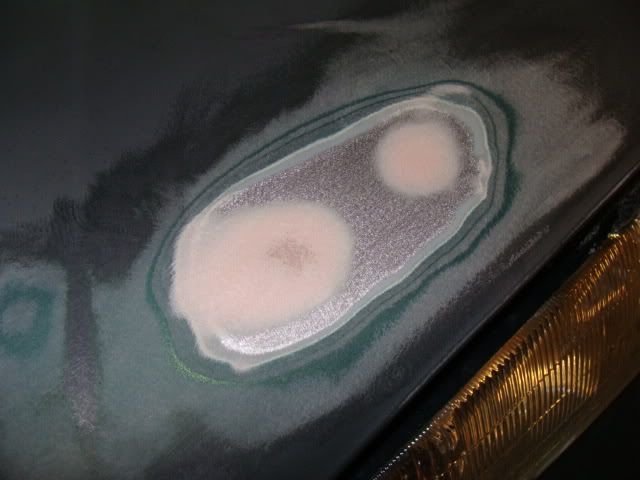
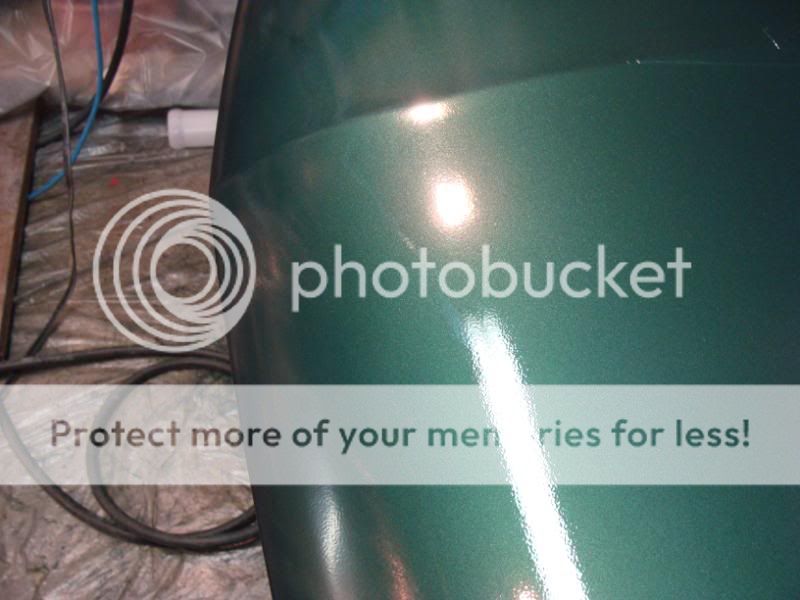
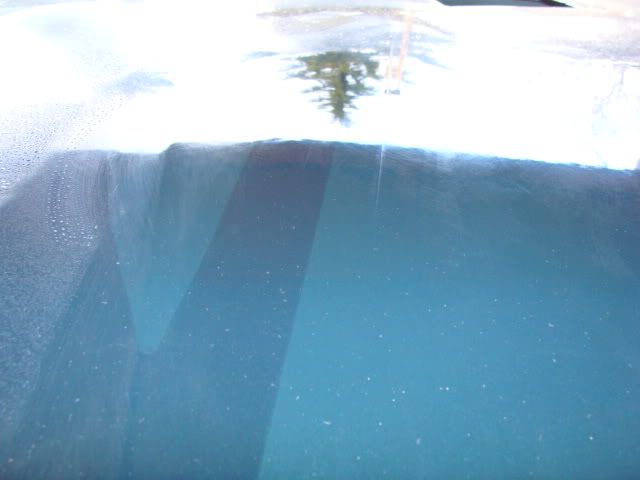
Remember that body work at the beginning? Can't see a hint of it now:


Here's where I am right now (going out to mix clear):


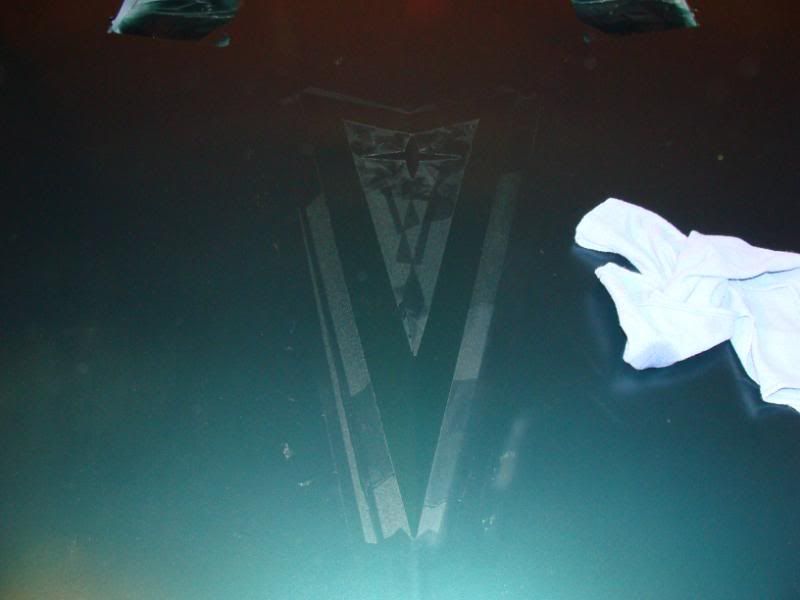
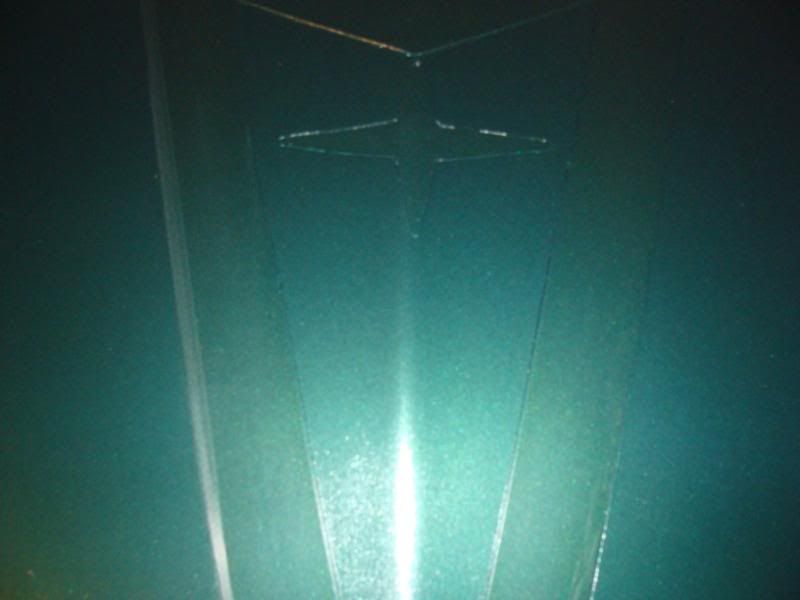
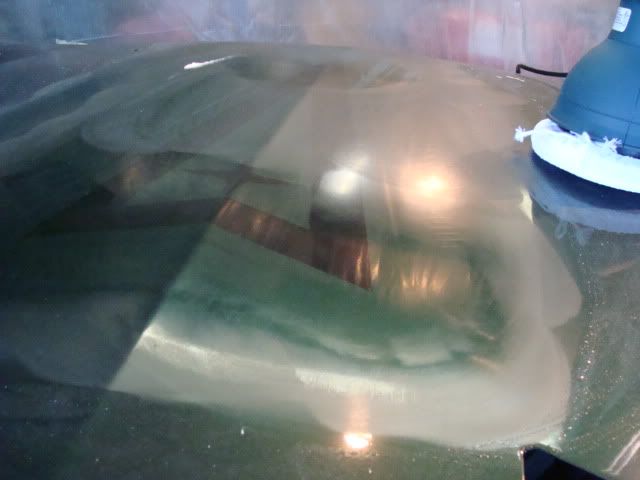
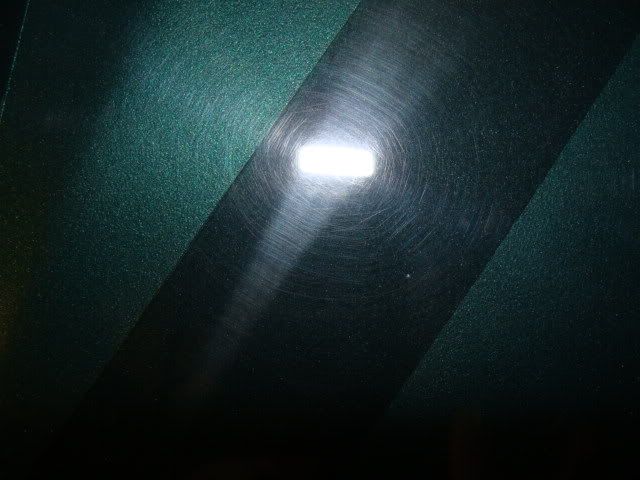
It's a little more subtle now. I spent a couple hours yesterday breaking that clearcoat edge down to a bare hint with 600, 800, 1000, and then 1500 grit, then rubbing compound on an orbital buffer. I'm also hitting the entire hood with 1500, then the orbital with rubbing compound. I'll finish up with an Random Orbital and polishing compound. The dart looks much more 'finished' now than it did before, especially since the clear didn't lay down over the second attempt as well as the rest of the hood.
Coming along nicely, but I still have a bit more work to do over the next couple days:


As you can see here, I have another pass or two to do with the buffer, then the polisher:

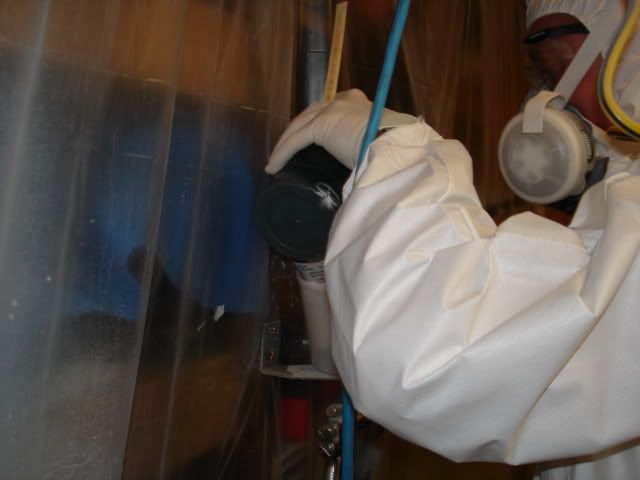
The trick for doing it in the garage for me was washing down the 'walls' of the paint booth regularly to control the dust. This included the inside of the garage door, too.
Merry Christmas to you, too.
Here's where she sits right now. Pretty much done with the rubbing compound on the driver's side, ready to do the same to the passenger side's 1500 grit work. After that, it's back to the buffer for polishing compound, then 3 good coats of liquid glass before it goes back on the car. Probably 3 more days (got some stuff to do in the meantime):


I'm pressed for time. Alot to do before I go back to work on Jan 2nd, so this will go back on the car tonight. I'll have to come back to it in the spring for a little more polishing, but for now, here's the first coat of wax (second coat will go on tomorrow morning, then the hood goes back on the car for now):


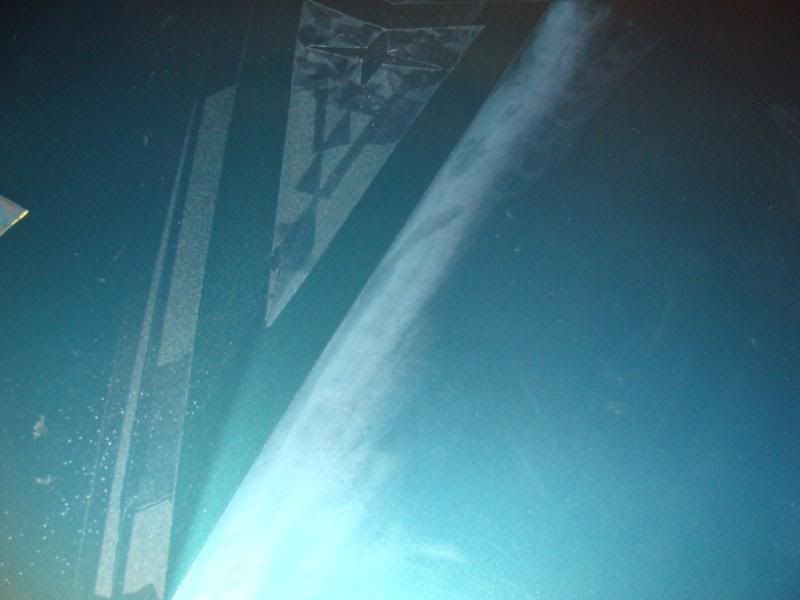
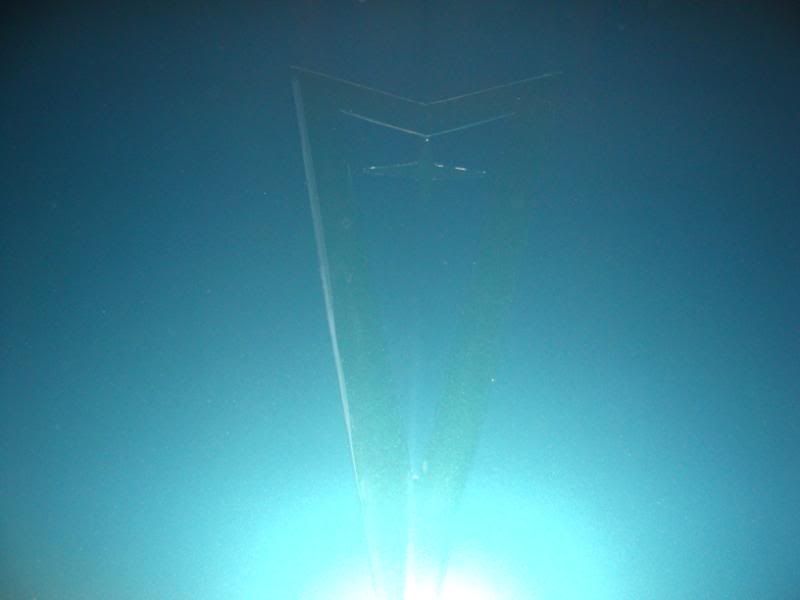
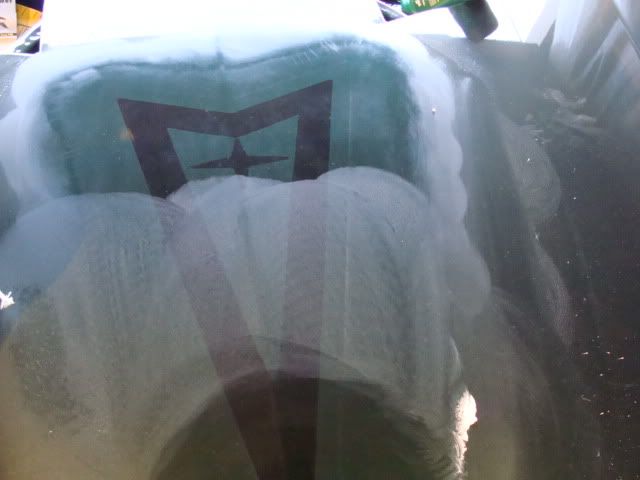
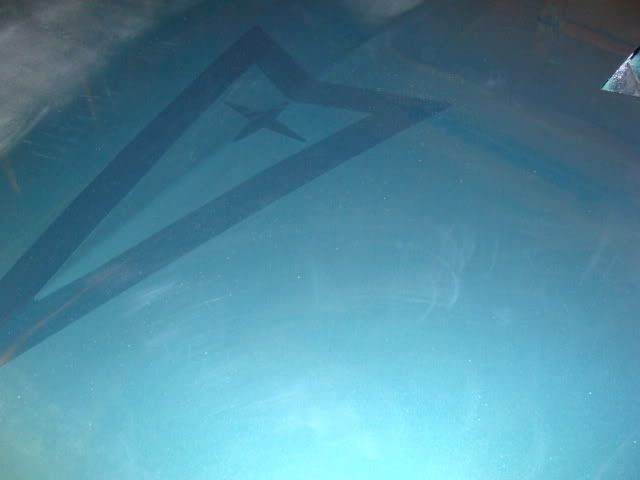
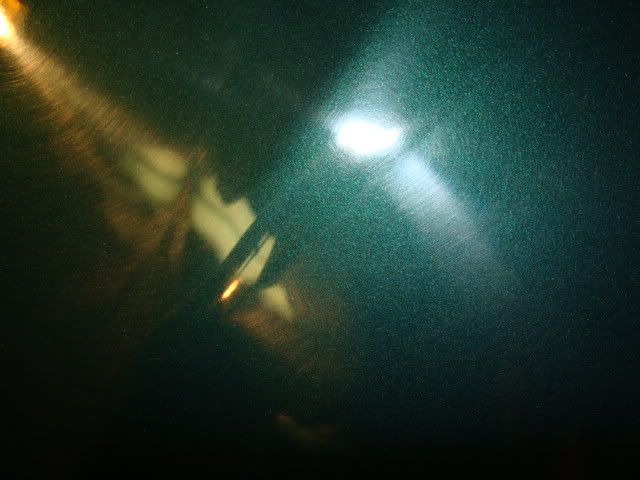
It's really odd (in a good way) how the angle and the lighting affect the contrast. Sometimes the logo is very faint, sometimes more pronounced.

The only things preventing these from going back on the hood:
1. Got one more coat of wax to put on the hood (going to do that now).
2. Paint is drying on the little nuts that hold the screen to the vents. Silver on the top-visible side (to match the screen color), black on the bottom (which is actually the top of the nut).
3. Pissing rain right now. I think I'll move some stuff farther into the garage, and tear down at least part of the paint booth, then pull the car part way in.
4. Forgot to pick up some low-tack sealant for underneath the vent flanges. Going to do that right after the last coat of wax on the hood.
It WILL be back on the car later today. I will also be re-polishing it in the spring. I think it can be better. Even with the imperfections, it's FAR better than it was the last two years, or just before that when the clear started flaking off.
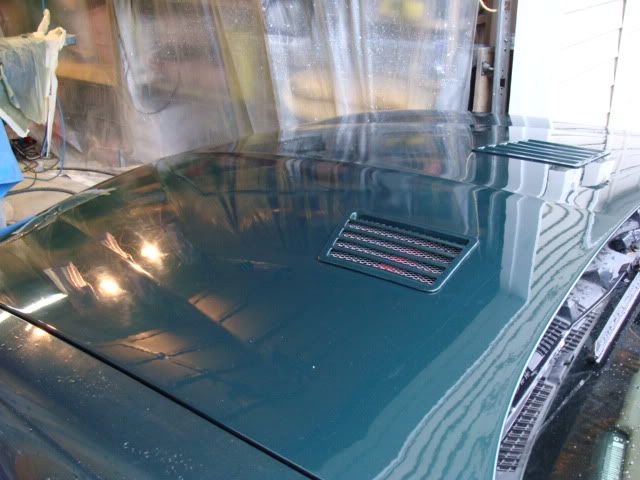
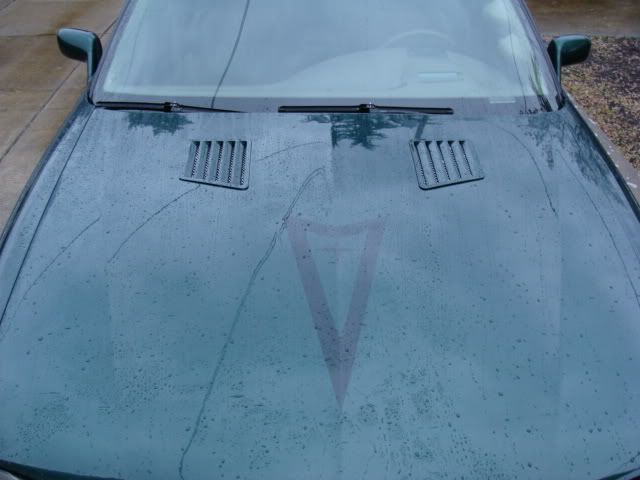
Almost back to this:


Notice the trees? :D

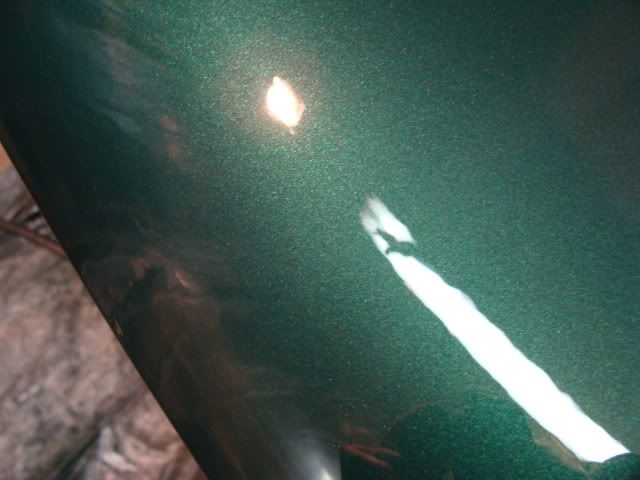
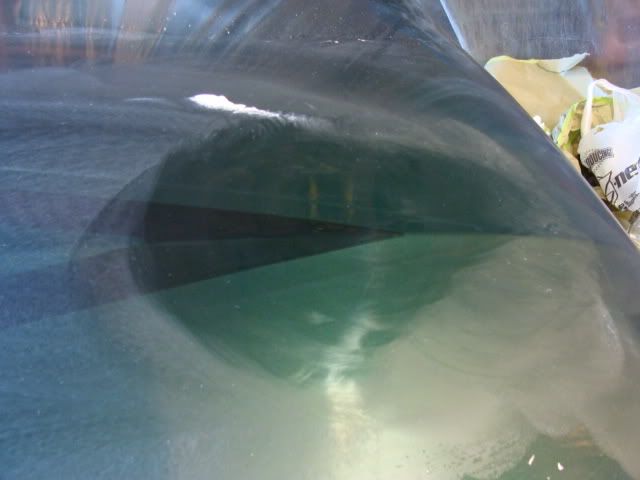
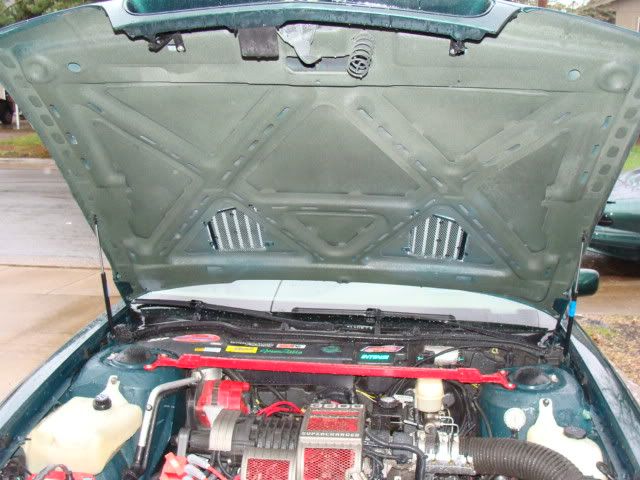
The slight discoloration under the hood is water. I washed it down, and it hasn't dried yet, but you can sortof see a hint of green texture:


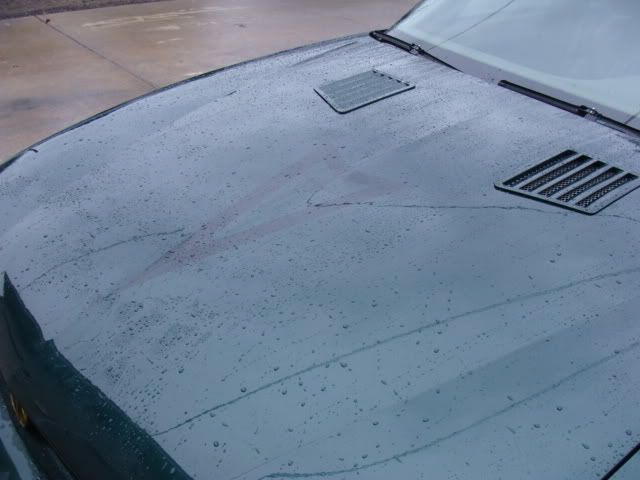

Done for now. More buffing in the spring, but not much. Vast improvement methinks. At least it stopped snowing so I could wash the *dang* thing.
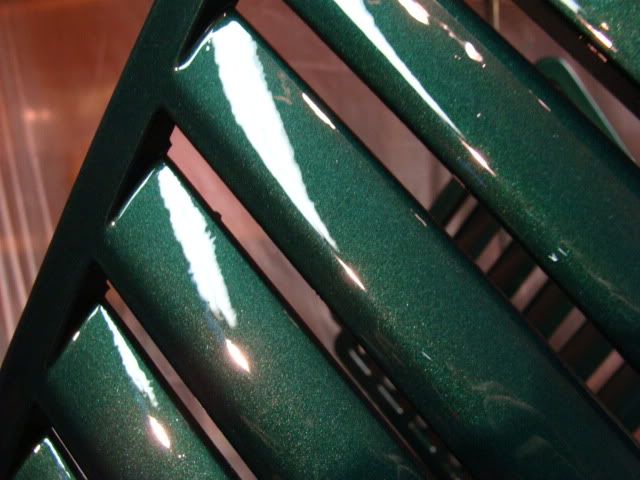
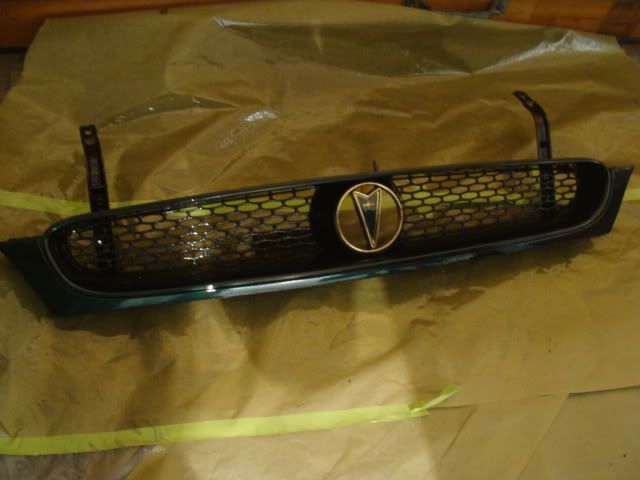
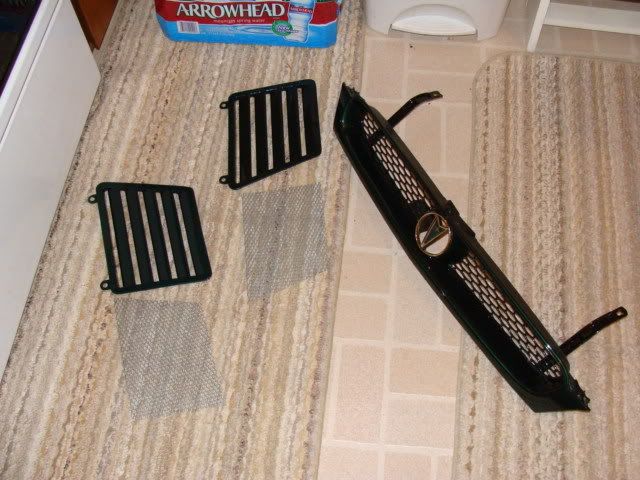
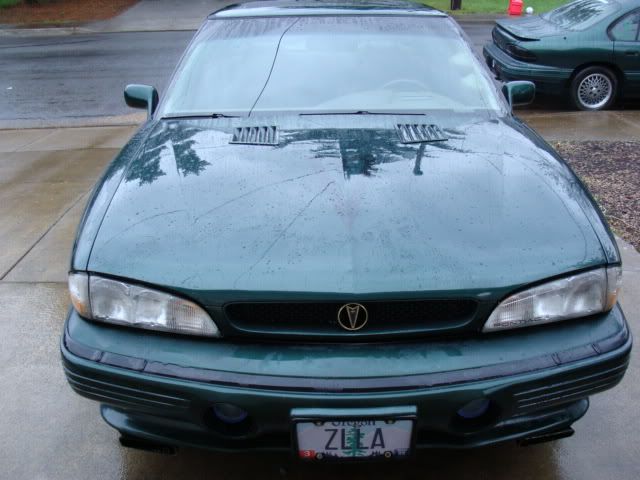
Hood vent covers won't go back on for a few days yet.
Hood removal comes first:
Dents courtesy of a friend a year ago:
Look! Something green covering the motor!
Time to remove the old black primer with castrol super clean (my favorite caustic chemical):
Time to break the clearcoat down. The clear was flaking off, which is why I went after the hood vents when I did. Nothing to lose:
Let's build a paint booth. This got washed out with water to control the dust between every coat (primer, color, clear):
Now let's do something cool to the underside. This is a textured fleck-coat for outdoor patio furniture. It's actually a dark forest green, but in the bad lighting, you can't tell very well:
I primed these the first time with the underside of the hood because I had some wear and abuse over the years installed on a Trans Am that I had to address. The first coat of primer made that easier:
The priming begins:
After a bunch of wetsanding on these 2 coats of high-build primer, it was time for color:
Now let's play around with a new idea. The logo will be shot with the same color, but with some gold pearl mixed in. The idea is to be subtle. Not right in your face, but easy to see in the right light:
Bad news. The tape that was rated for oil, alkyd, polyurethane, latex, and acrylic paints decided to leave imprints in the fully dried basecoat:
Time to wet-sand the entire hood EXCEPT the logo, and re-shoot color:
Before the next coat of color, we have to re-mask the logo (it has the gold pearl in it, and I don't want to have to re-mix and re-shoot it). This time we'll use electrical tape and a trimmed fridge magnet to mask it off:
The results (notice the 800-grit oops in the logo from the previous step):
I had no choice at this point but to hide that oops with 1500 grit. I did the whole logo (inside corners, especially on the star, were a B I T C H). It had to look the same. After that, it was time for clear:
Remember that body work at the beginning? Can't see a hint of it now:
Here's where I am right now (going out to mix clear):
It's a little more subtle now. I spent a couple hours yesterday breaking that clearcoat edge down to a bare hint with 600, 800, 1000, and then 1500 grit, then rubbing compound on an orbital buffer. I'm also hitting the entire hood with 1500, then the orbital with rubbing compound. I'll finish up with an Random Orbital and polishing compound. The dart looks much more 'finished' now than it did before, especially since the clear didn't lay down over the second attempt as well as the rest of the hood.
Coming along nicely, but I still have a bit more work to do over the next couple days:
As you can see here, I have another pass or two to do with the buffer, then the polisher:
The trick for doing it in the garage for me was washing down the 'walls' of the paint booth regularly to control the dust. This included the inside of the garage door, too.
Merry Christmas to you, too.
Here's where she sits right now. Pretty much done with the rubbing compound on the driver's side, ready to do the same to the passenger side's 1500 grit work. After that, it's back to the buffer for polishing compound, then 3 good coats of liquid glass before it goes back on the car. Probably 3 more days (got some stuff to do in the meantime):
I'm pressed for time. Alot to do before I go back to work on Jan 2nd, so this will go back on the car tonight. I'll have to come back to it in the spring for a little more polishing, but for now, here's the first coat of wax (second coat will go on tomorrow morning, then the hood goes back on the car for now):
It's really odd (in a good way) how the angle and the lighting affect the contrast. Sometimes the logo is very faint, sometimes more pronounced.
The only things preventing these from going back on the hood:
1. Got one more coat of wax to put on the hood (going to do that now).
2. Paint is drying on the little nuts that hold the screen to the vents. Silver on the top-visible side (to match the screen color), black on the bottom (which is actually the top of the nut).
3. Pissing rain right now. I think I'll move some stuff farther into the garage, and tear down at least part of the paint booth, then pull the car part way in.
4. Forgot to pick up some low-tack sealant for underneath the vent flanges. Going to do that right after the last coat of wax on the hood.
It WILL be back on the car later today. I will also be re-polishing it in the spring. I think it can be better. Even with the imperfections, it's FAR better than it was the last two years, or just before that when the clear started flaking off.
Almost back to this:
Notice the trees? :D
The slight discoloration under the hood is water. I washed it down, and it hasn't dried yet, but you can sortof see a hint of green texture:
Done for now. More buffing in the spring, but not much. Vast improvement methinks. At least it stopped snowing so I could wash the *dang* thing.
Hood vent covers won't go back on for a few days yet.