Re: Cluster Lighting mod
Posted: Fri Mar 31, 2023 9:47 pm
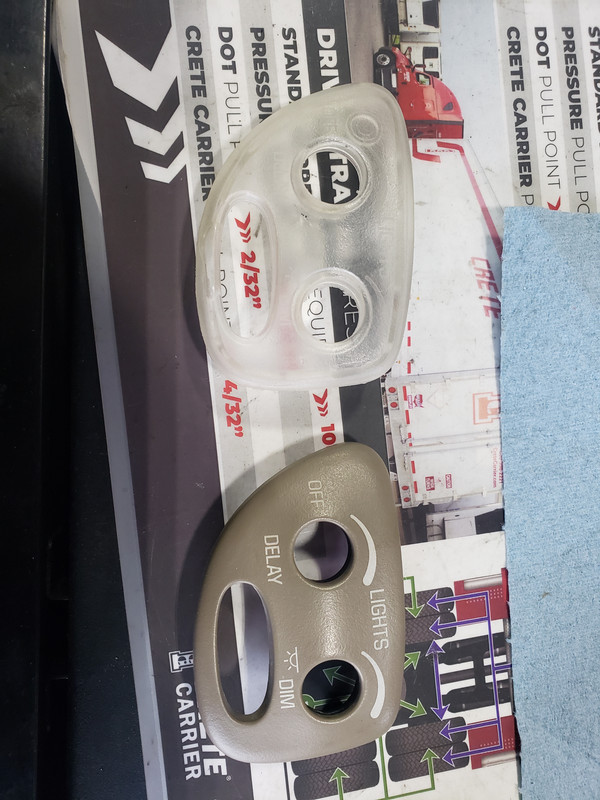
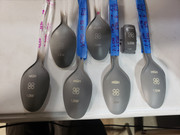
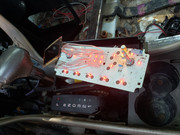
First clear 2000's Bonneville buttons in the world?
I need to get back to the electronics end of it, but I couldn't resist making some test buttons. Mainly to familiarize myself with the molding and casting process. I'm just using some silicone and resin from the hobby store for the testing. I want some silicone with longer working time and resin with faster demold time.
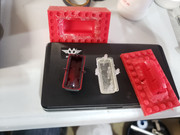
The first one was the Auto button. Seemed fitting as I destroyed the other one. It turned out flexible though. Not sure if I got the mix wrong or what. The second one was the Fan Up / Down one. That one turned out nice and hard. I didn't really do anything different that I'm aware of. The resin is supposed to be really good at degasing itself, but most likely that is in an open pour. Not so much in a 2 part injection type mold.
I hope to have the ability to actually injection mold projects like this in the future, but resin casting will have to work for now.
That said, the bubbles are unacceptable, even if they will be covered with paint or something. I'm setting up a vacuum chamber and pressure pot. I'm going to have to wait a little bit for the vacuum chamber. I grabbed an overkill vacuum pump, but I need it to get the A/C back together in my truck when I put it together anyway.
The pressure pot is up and running.
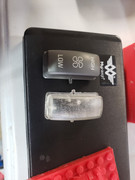
I just put the front cover of the headlight switch in the pressure pot @ 40 psi so that will be the next part to come out, hopefully with any bubbles squished down to basically invisible.
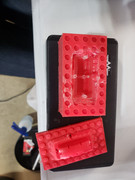
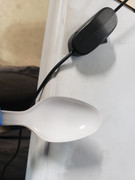
Demolding fan switch.
Fan switch before trimming.
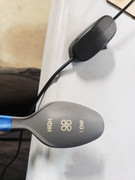
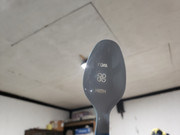
Fan switch after trimming.
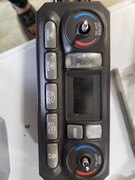
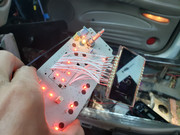
Mocked up.
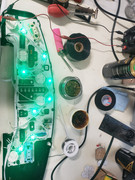
Had to get some ideas flowing on that part of the process. Back to electronics.
I need to get back to the electronics end of it, but I couldn't resist making some test buttons. Mainly to familiarize myself with the molding and casting process. I'm just using some silicone and resin from the hobby store for the testing. I want some silicone with longer working time and resin with faster demold time.
The first one was the Auto button. Seemed fitting as I destroyed the other one. It turned out flexible though. Not sure if I got the mix wrong or what. The second one was the Fan Up / Down one. That one turned out nice and hard. I didn't really do anything different that I'm aware of. The resin is supposed to be really good at degasing itself, but most likely that is in an open pour. Not so much in a 2 part injection type mold.
I hope to have the ability to actually injection mold projects like this in the future, but resin casting will have to work for now.
That said, the bubbles are unacceptable, even if they will be covered with paint or something. I'm setting up a vacuum chamber and pressure pot. I'm going to have to wait a little bit for the vacuum chamber. I grabbed an overkill vacuum pump, but I need it to get the A/C back together in my truck when I put it together anyway.
The pressure pot is up and running.
I just put the front cover of the headlight switch in the pressure pot @ 40 psi so that will be the next part to come out, hopefully with any bubbles squished down to basically invisible.
Demolding fan switch.
Fan switch before trimming.
Fan switch after trimming.
Mocked up.
Had to get some ideas flowing on that part of the process. Back to electronics.